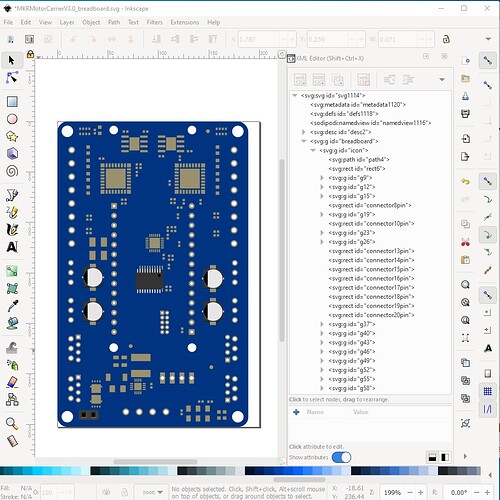
Easy enough (at least for me!) to do, there are eagle brd files available which along with Eagle2Fritzing make this less painful. Should be available in a day or two. Eagle2Fritzing creates this as the breadboard. From here I need to identify the connectors actually needed (all the ICs will show up in the connector list even though Fritzing doesn’t need them) and add the breadboard images of the parts that Eagle2Fritzing doesn’t recognize (it is possible to add them to E2F, but I find it easier to just manually edit the svg.) Typically I toss schematic away and make a new one from the template or via the Inkscape extension.
Part making is a fairly complex process. These two sets of tutorials apply to the current versions of Fritzing (most of the others are for older versions of the software.) Using Eagle2Fritzing is more difficult yet (for starters you need a Fritzing development environment to build Eagle2Fritzing!) If you need a small number of parts, it is easier to convince one of us that know parts making to make them for you. That said we are always willing to help people to make parts as everyone benefits from more people willing and able to make parts.
edit: and here is the part for this device:
arduino-MKR-motor-carrier.fzpz (45.4 KB)
Peter
