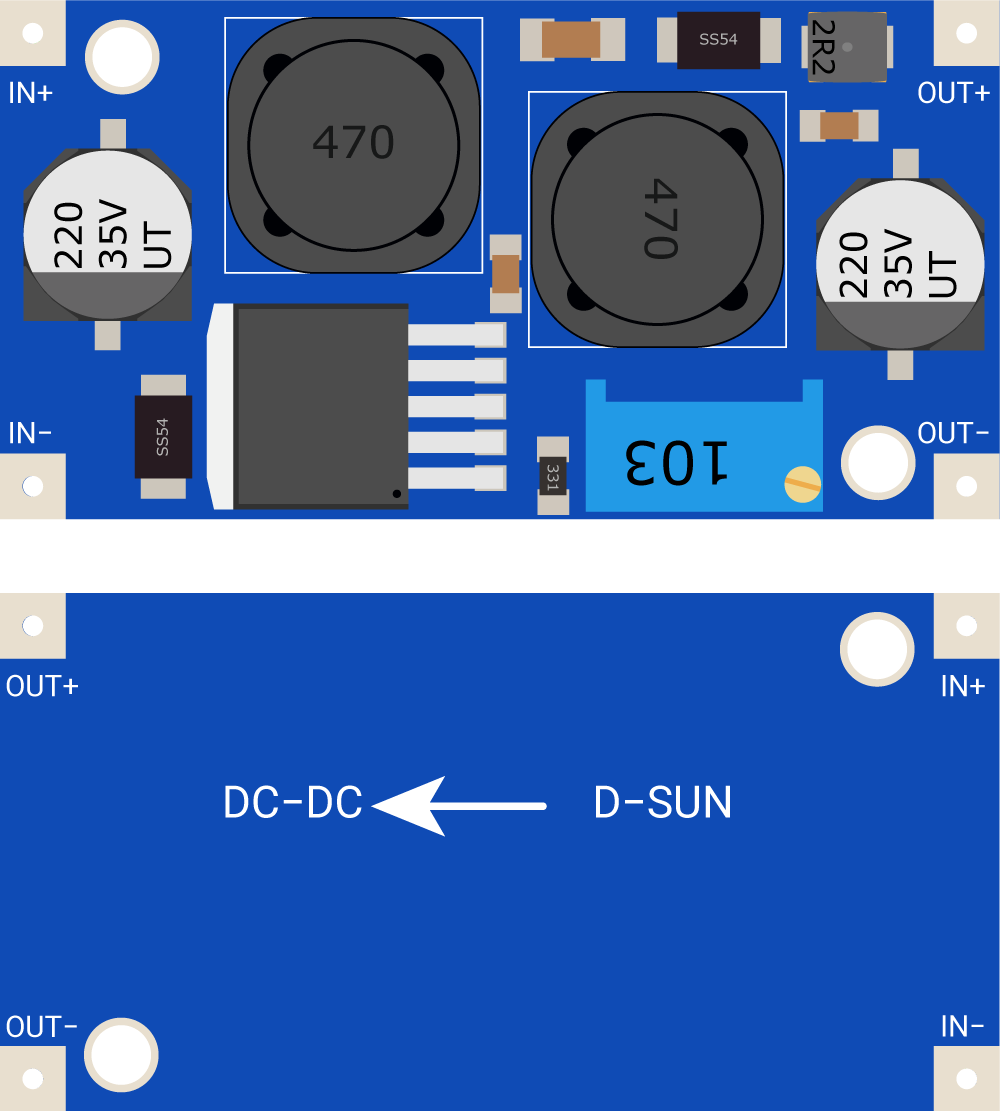
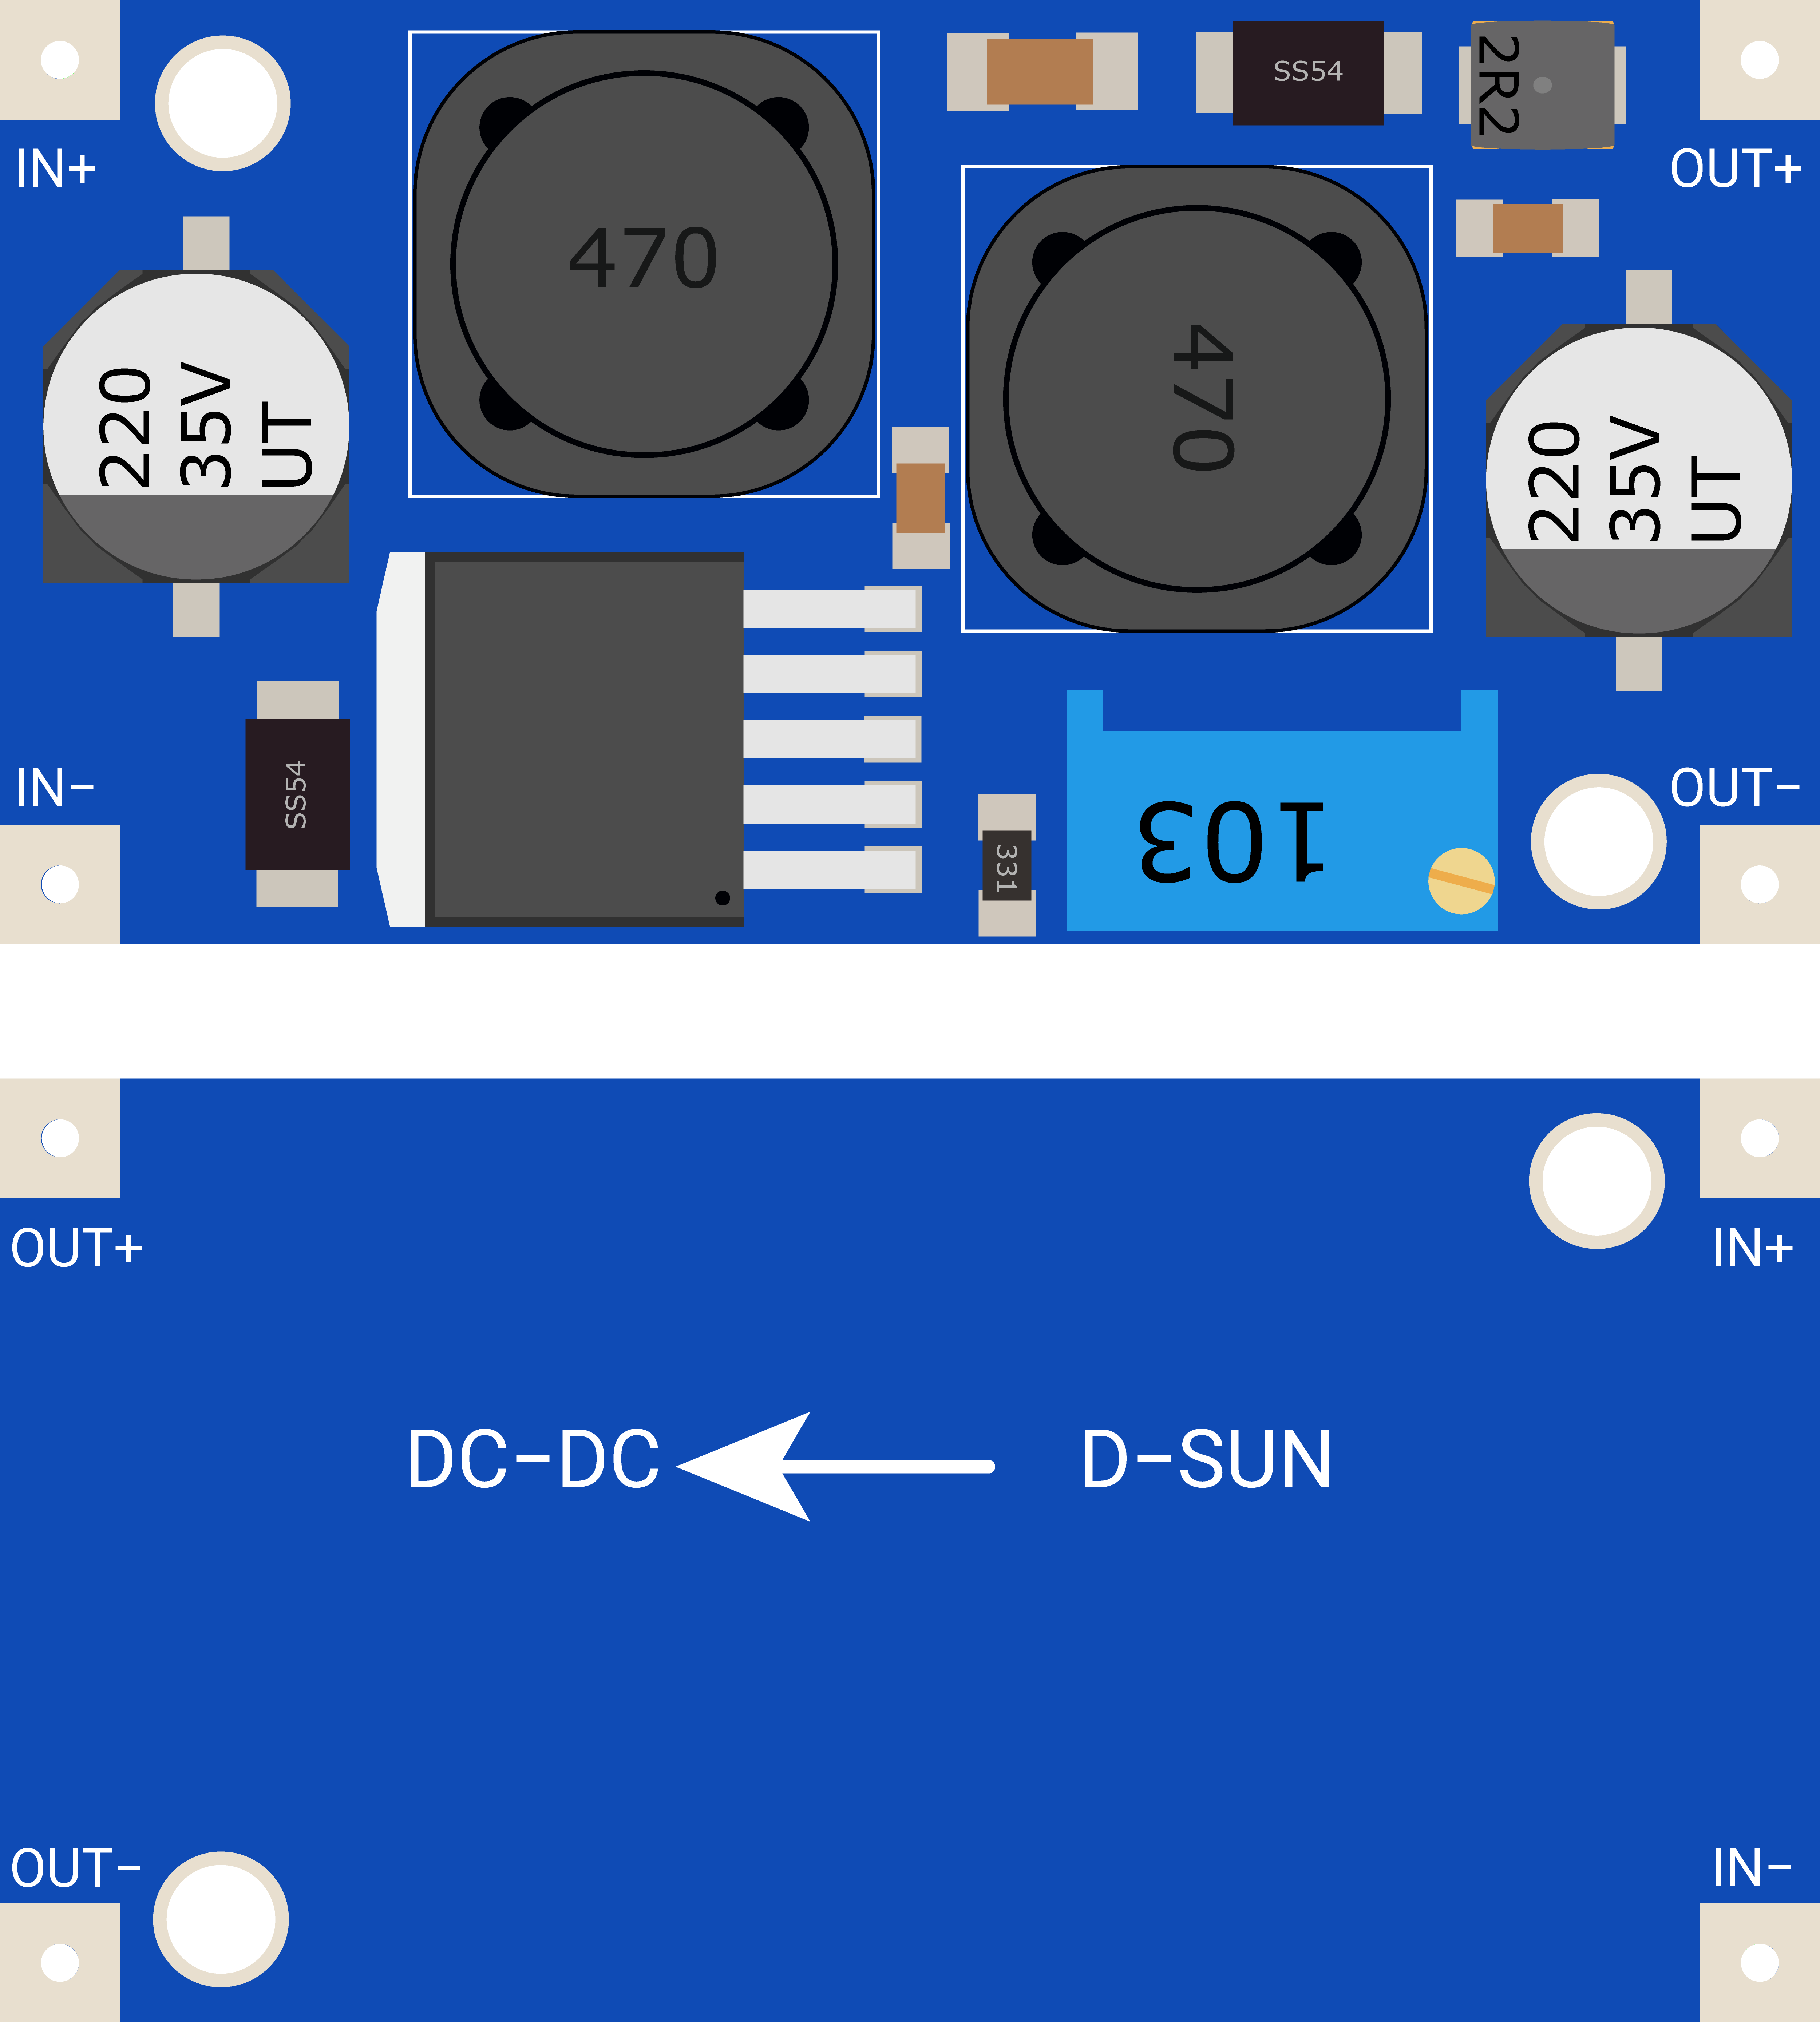
XL6009E1 Boost Convertor.fzpz (17.1 KB)
same issue as the LM2596 schematic scale is slightly wrong and doesn’t align to the grid.
Peter
Thank you for the corrections
XL6009E1 Boost Convertor.fzpz (17.2 KB)
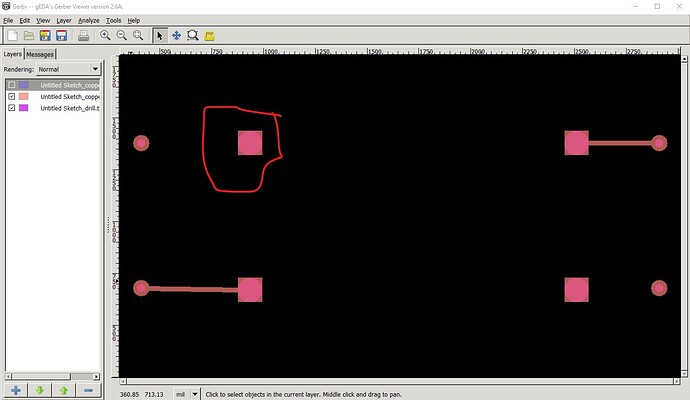
This one looks better, but in pcb this time the holes are too large (0.118045in).
from the gerber output drill.txt file
; NON-PLATED HOLES START AT T1
; THROUGH (PLATED) HOLES START AT T100
M48
INCH
T100C0.038000
T101C0.118045
the gerber output from gerbv, note there is very little copper left around the hole. Probably not enough for a good solder connection.
A 0.038in hole would probably be a better bet.
Peter
Hi, there is a new bigger version with double coil… and it is valid for XL6009 (new) or XL6019 (more efficient and with higher voltage output). But the size is bigger… 48x25mm (XL6009) vs 53x26 (XL6019)
Is it possible to upgrade this? I haven’t found the DataSheet, but this…
https://wiki.iarduino.ru/page/converter-voltage-dc-dc-xl6009/
https://wiki.iarduino.ru/img/resources/1574/1574.svg
https://wiki.iarduino.ru/img/resources/1574/1574_1.svg


thanks!!
Sure this part should do what you want. Note the mounting holes are not drilled in pcb by default. If you want mounting holes drilled you need to drag a pcb/hole in to the sketch in pcb view, position it over the hole in silkscreen and set the size appropriately.
XL6009E1-Boost-Convertor.fzpz (19.5 KB)
Peter
whats with this version?:
https://www.amazon.de/ARCELI-Converter-Ausgangsspannung-Einstellbare-Step-Up-Platine/dp/B07BVWV74J
ist 43x21mm so complete different than this one and the rio rand lm2596
whats with this version?:
ist 43x21mm so complete different than this one and the rio rand lm2596
[/quote]
There are an infinite number of mostly identical boards depending on who made them. Your choices are use one of the existing ones (which is likely electrically identical) or modify (or get someone to modify) an existing part.
Peter
Okay and is there a way to modify the part dimensions? I can only change the metadata and connectrions, I cant edit the lenght and width… Its important for the PCB
Yes although it requires (as noted) creating a new part. It is preferable that you use a part that has an existing Fritzing part. That said here is a new part built from the web site you provided (specifically from a jpeg image of the board as there is not enough dimension information to do anything useful.) That means is may not be exactly correct so your best bet is to print the pcb footprint at 1:1 scale and check it against a real part (as I don’t have one) before ordering boards.
XL6009_module.fzpz (9.2 KB)
Peter
oh wow thank you!
you are the best Peter ![]()

