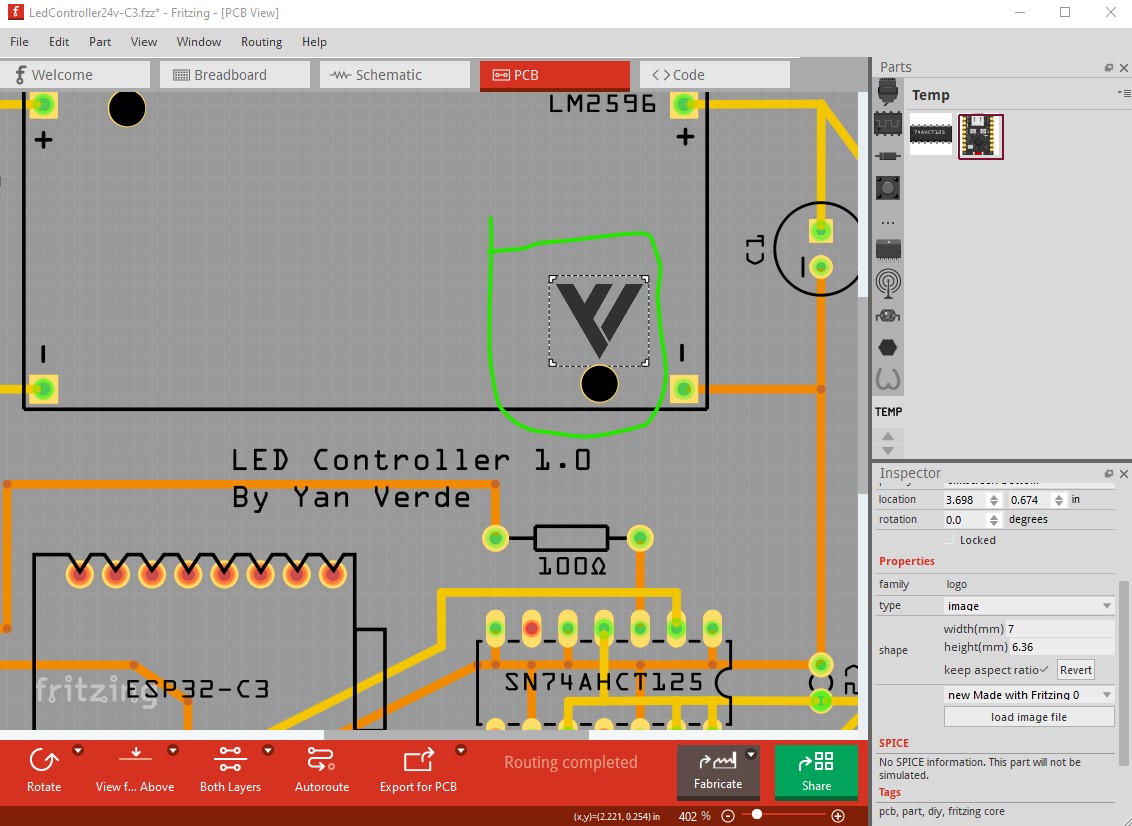
Hi,
I’m having an issue with the silkscreen image being the wrong size when exported to Gerber file.
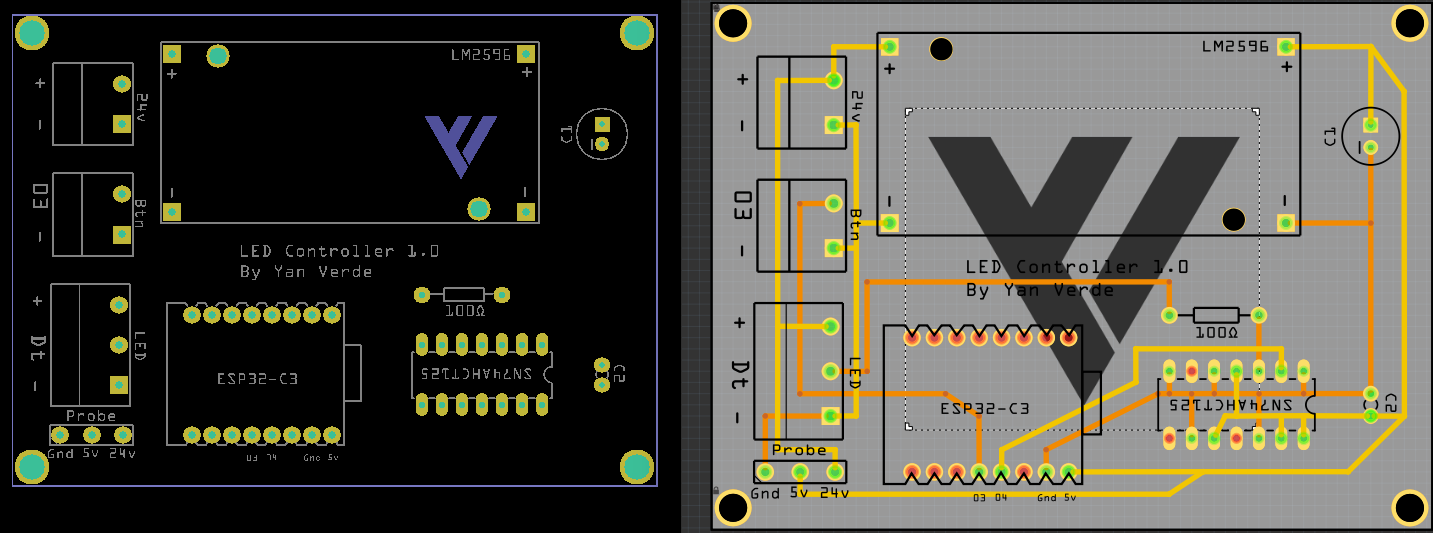
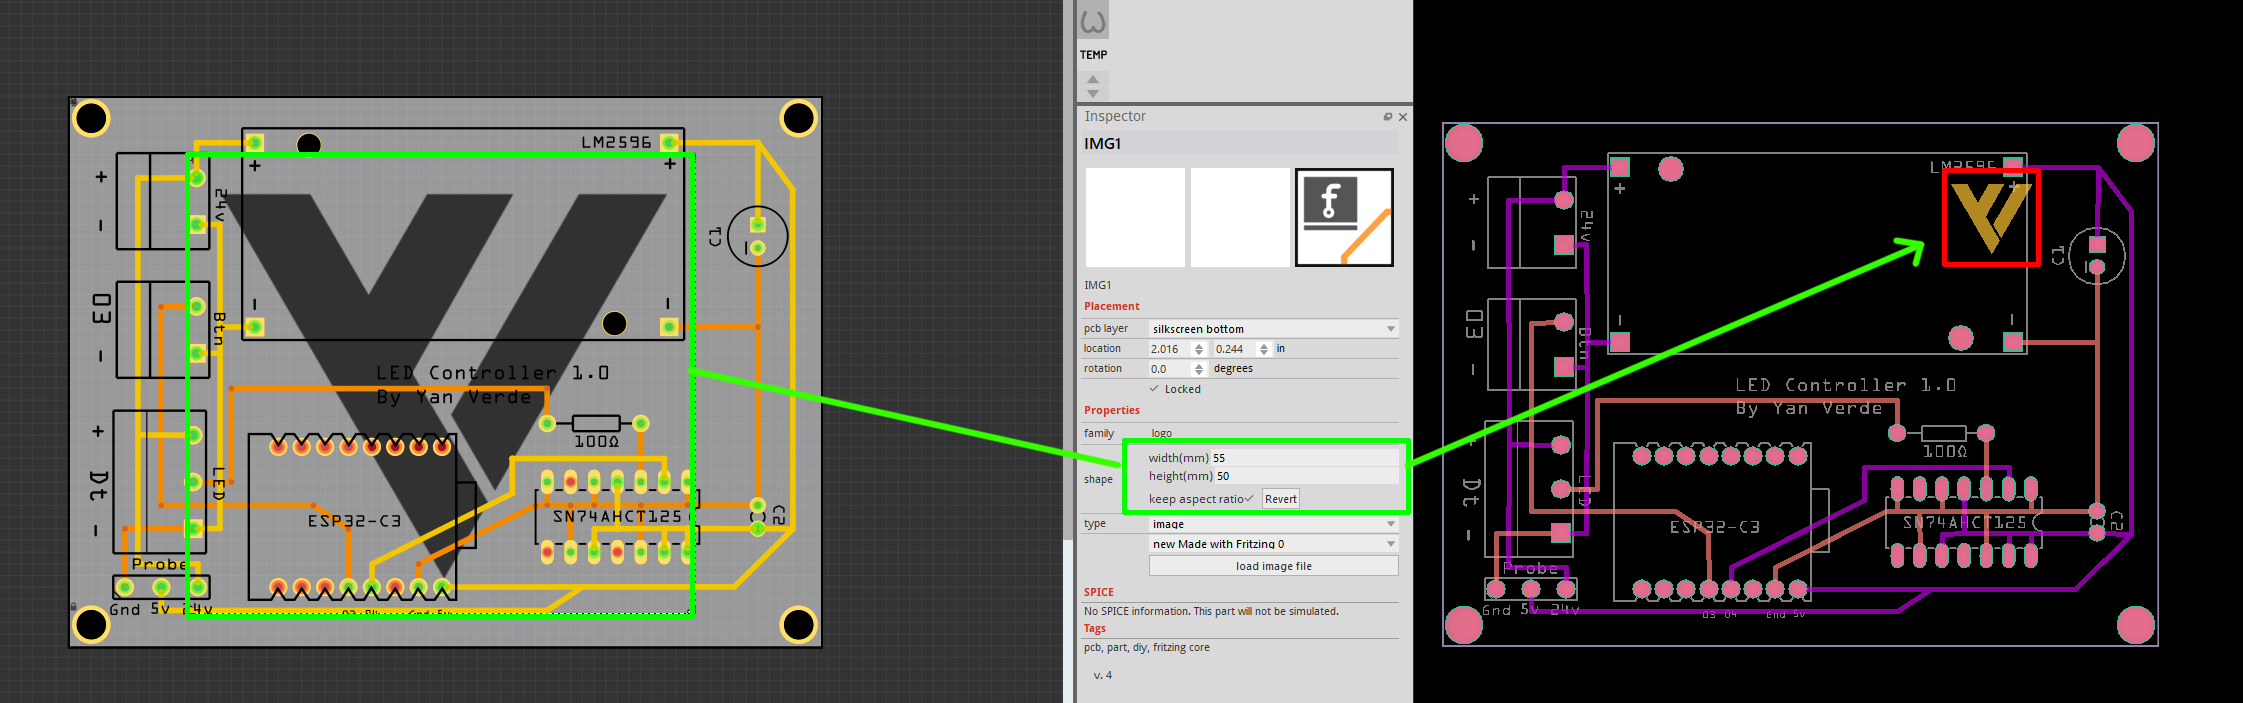
Here you can see the difference between Fritzing and Gerbv.
Probably your best bet is to upload the sketch file (the .fzz file, upload is 7th icon from the left in the reply menu.) With that I can try the export and likely figure out what is going wrong. The .fzz file should contain the image used for silkscreen.
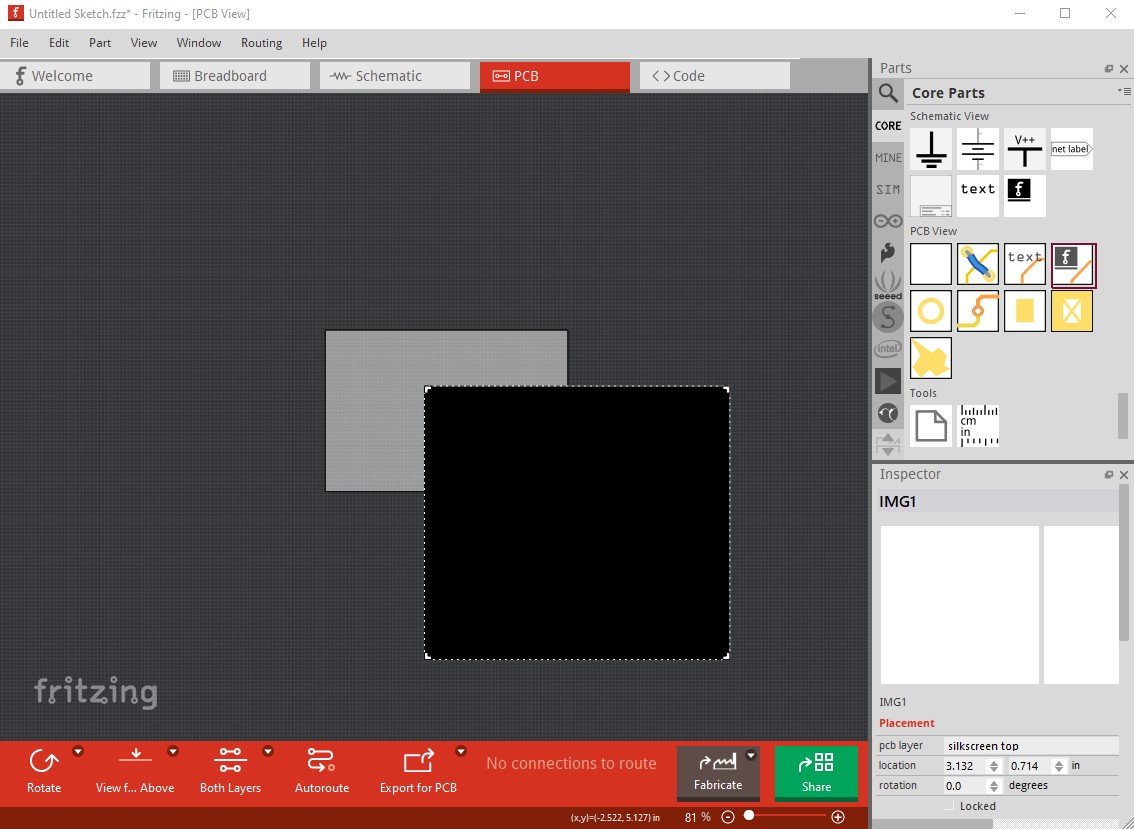
I’m also having issue where loading an image that is not SVG will result in the image being completely black in Fritzing. For example the attached one. I used that image in a the past and it was fine.
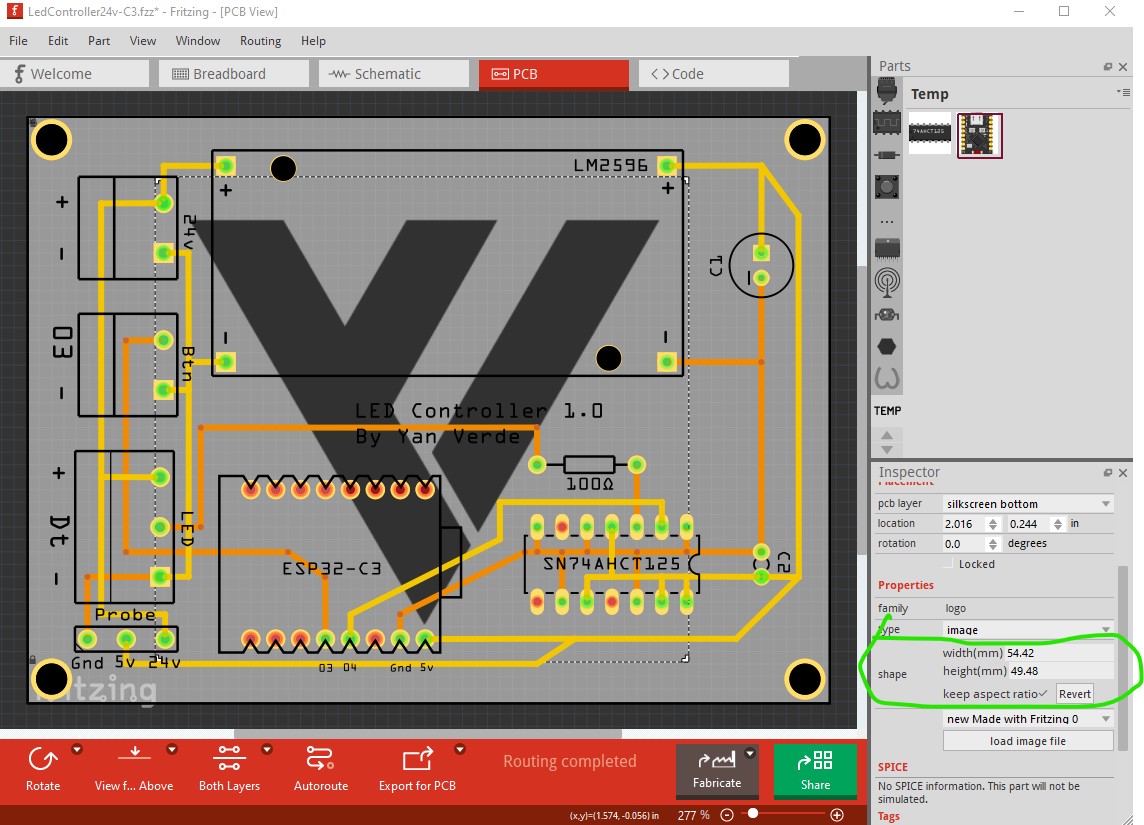
just select the image and change the size in inspector (circled in green here) leaving the aspect ratio ticked so it changes both x and y to keep the image correct.
Hi,
I don’t understand.
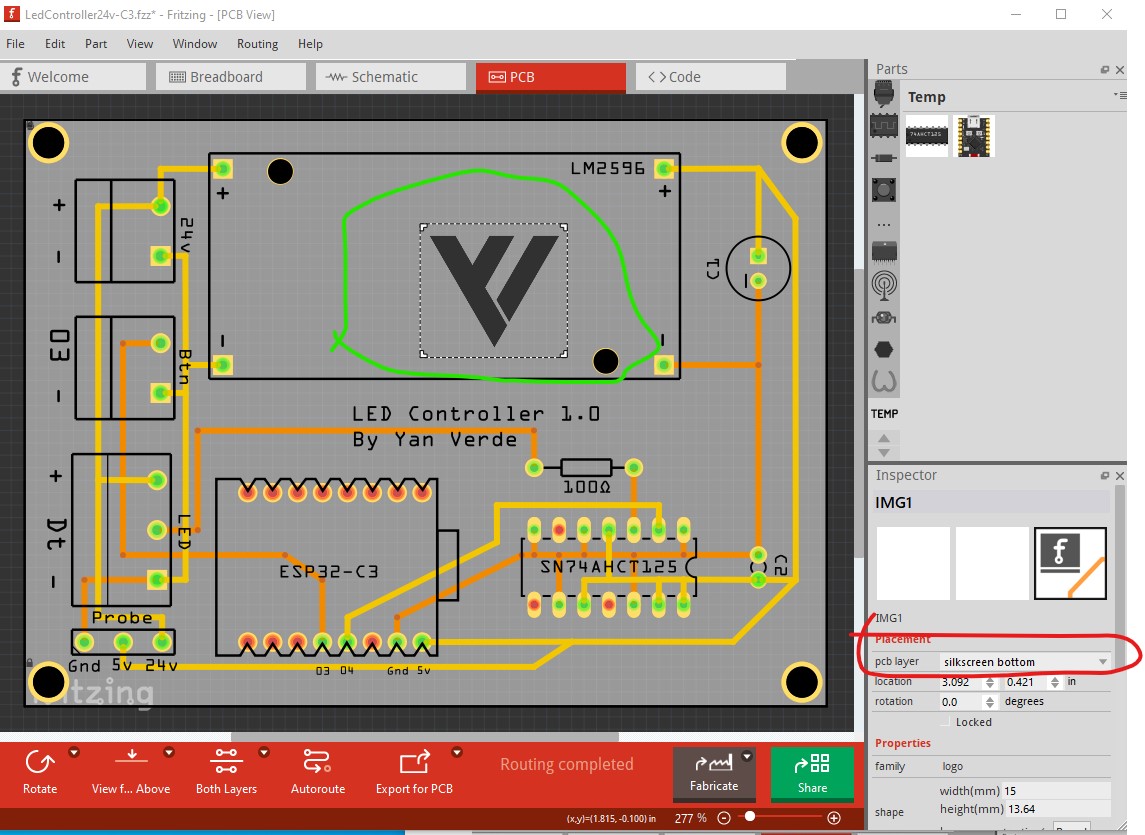
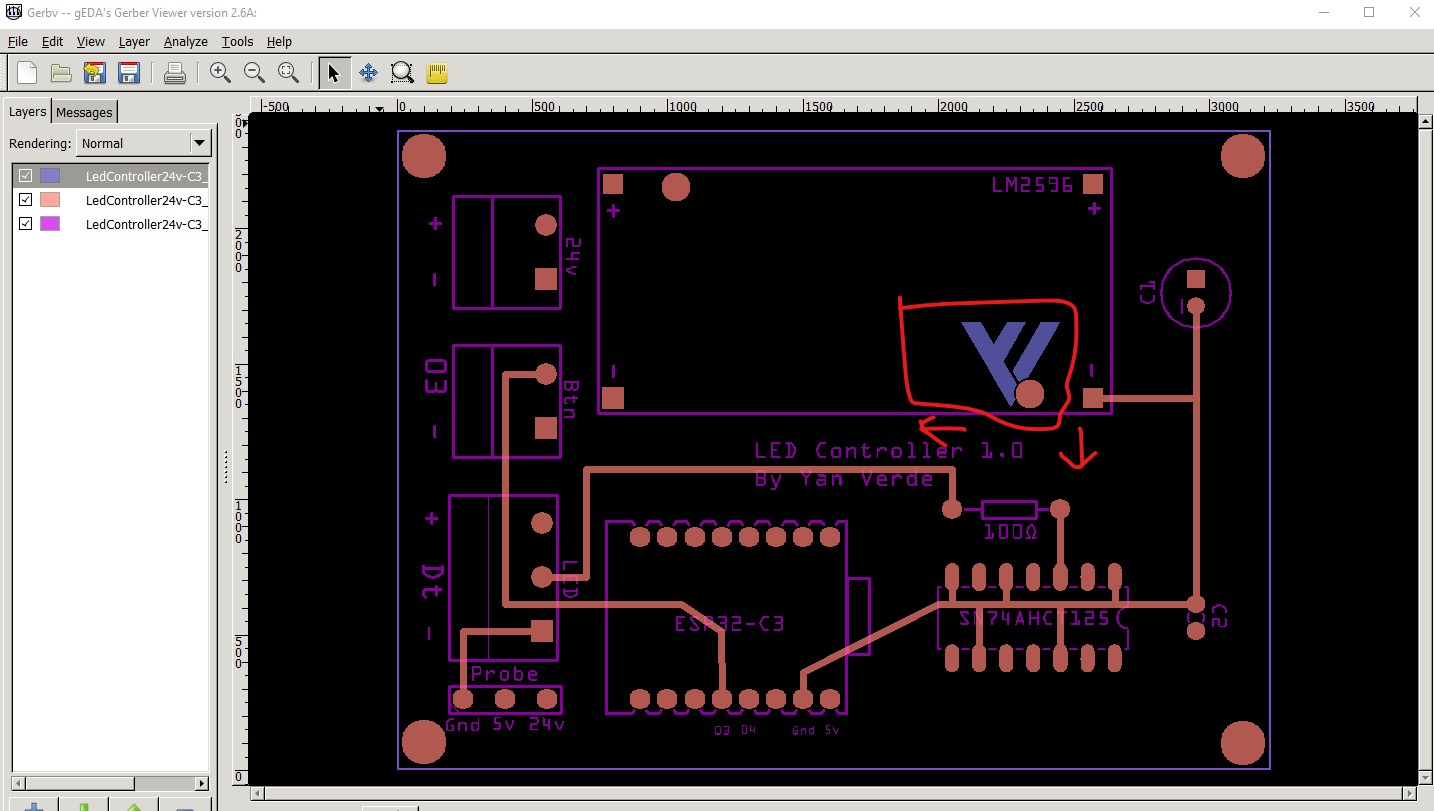
I changed the size using the Width and height keeping the aspect ratio ticked, but when I export to Gerber format, the image is still the wrong size.
I think it’s not a position issue, but more a scale issue.
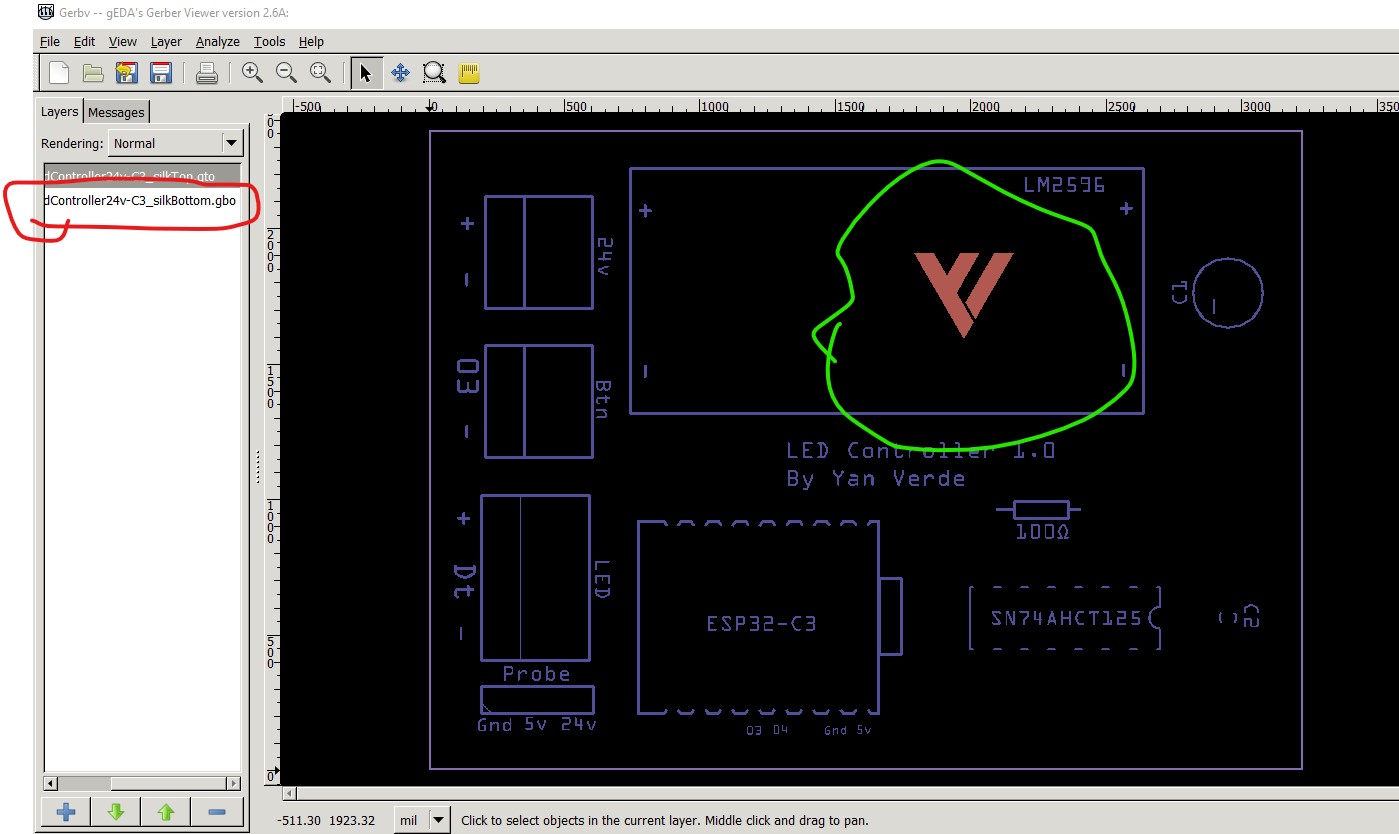
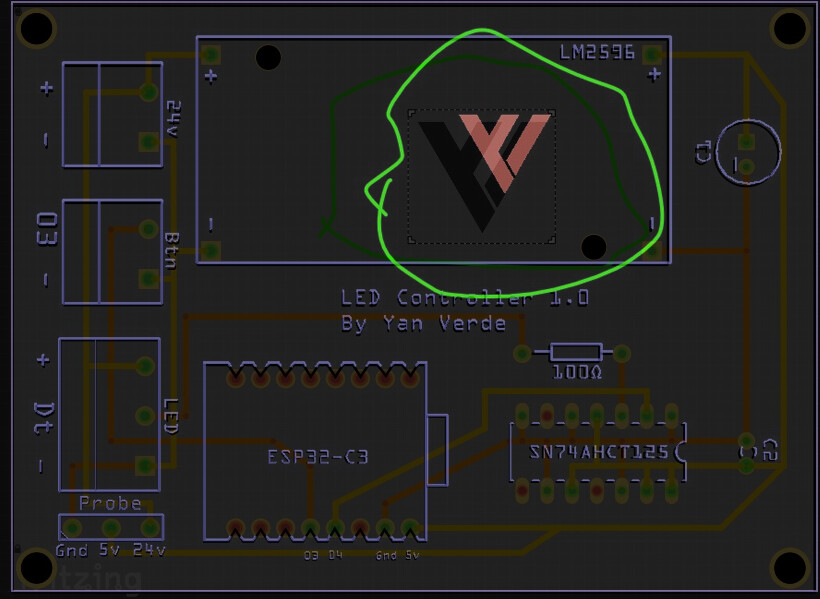
If you look closely, the top right of the image is at the correct location, but the scale changes which makes you think the image moved.
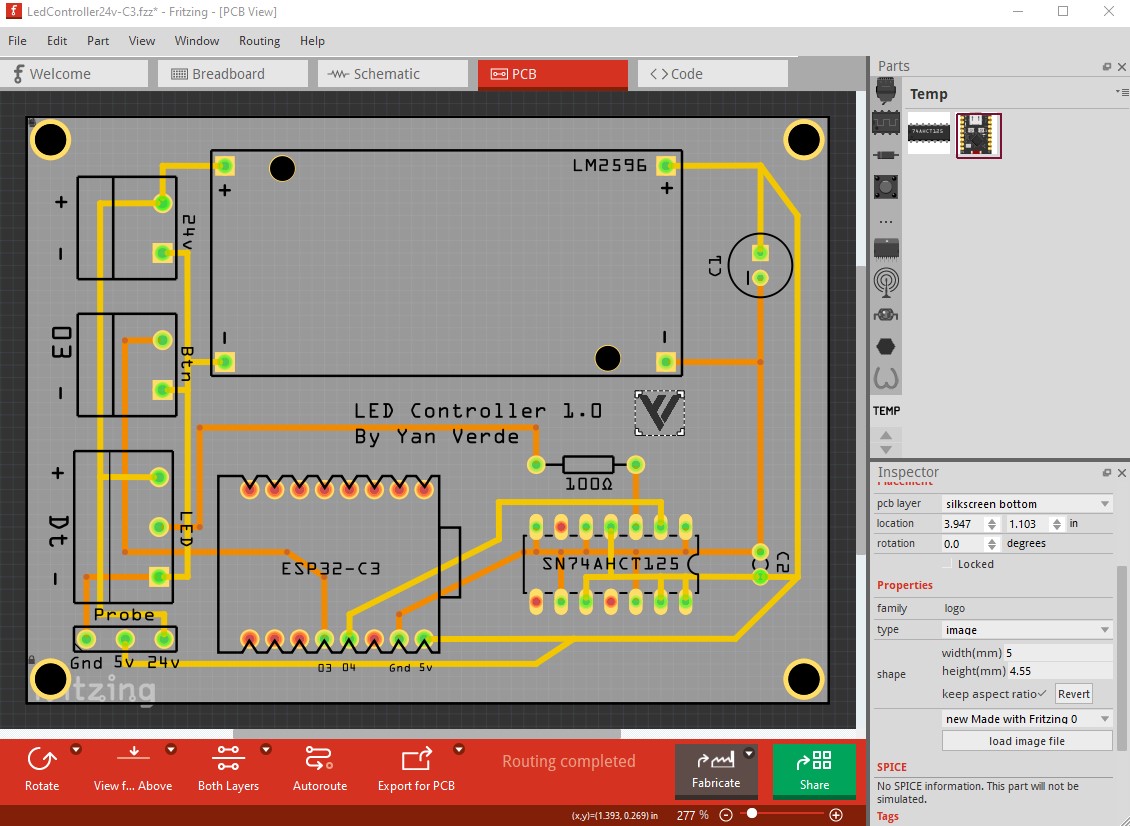
It looks like the scale in the Gerber is always the same no matter the scale in Fritzing.
If you put the image to be giant in fritzing it will look the same in Gerber as if you put the image really small as long as the top right corner are at the same position in both case.
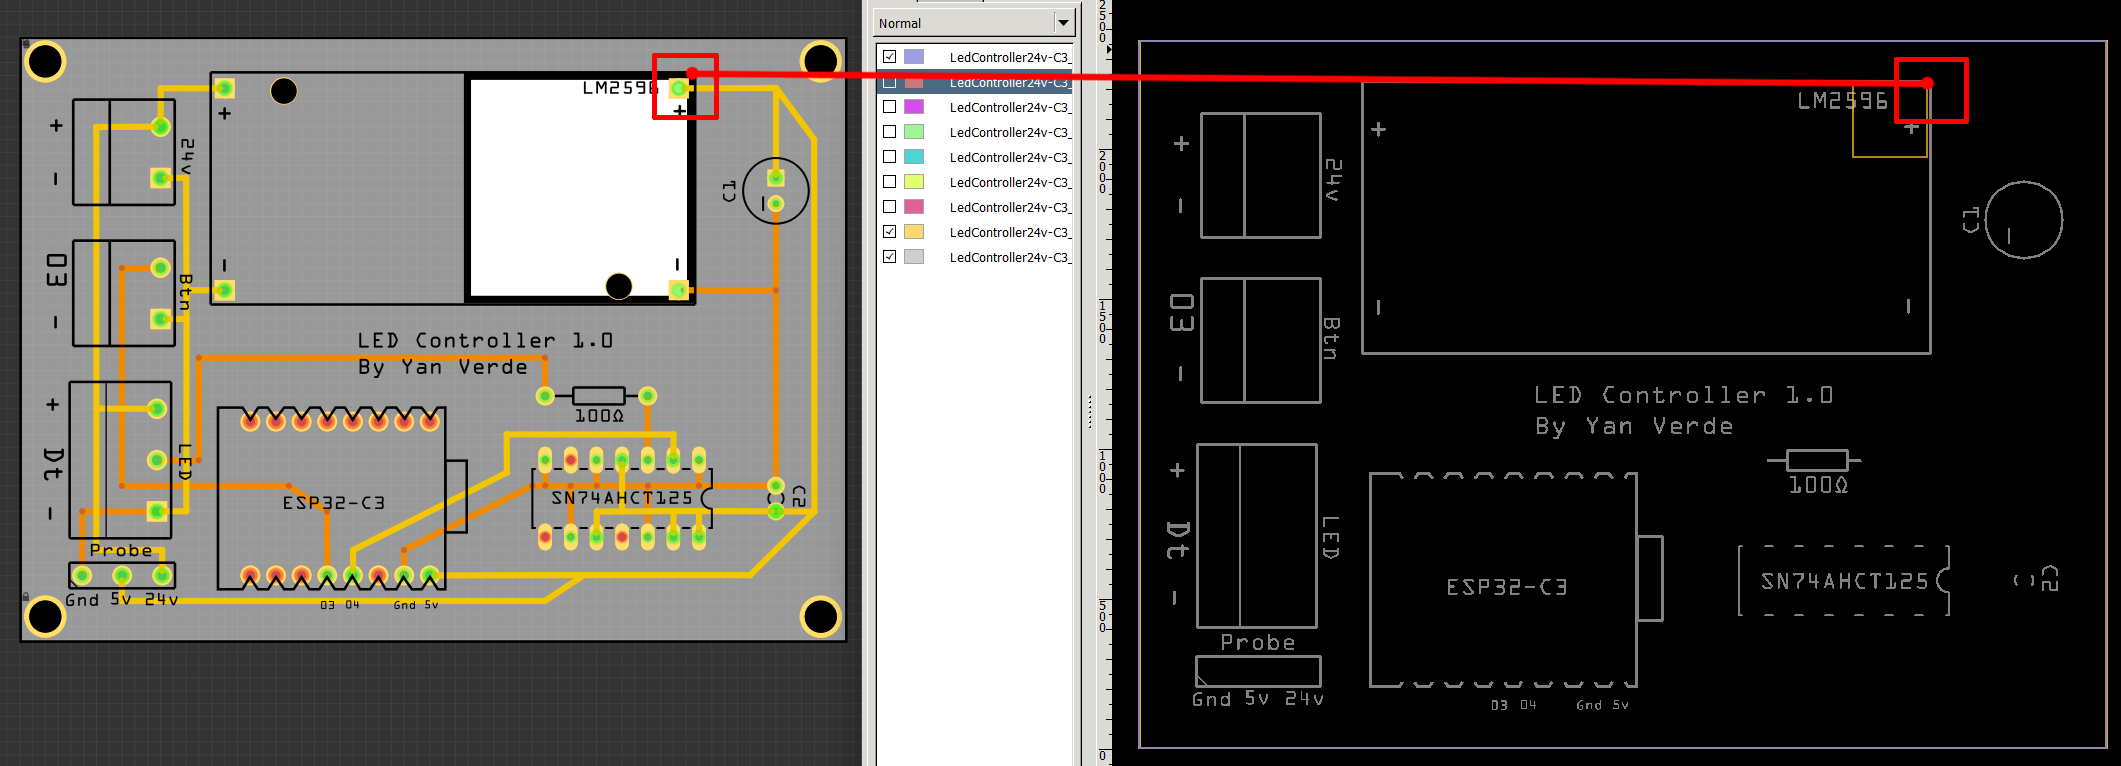
For example here, you can notice that the square corner is at the right position, but the scale is wrong.
with either the information above or a pointer to this post for how to reproduce it. The developers do sometimes read the forums, but the official bug repository is github. I would also open a separate issue on Win10 and Win11 processing gerber differently (if they indeed are, I don’t have Win11 to try it on side by side!)
Fritzing 1.0.4 will contain some improvements, so less detours to Photoshop or other tools are required. A relatively easy fix was to support alpha channels for PNG images. Also, I am thinking about using smarter thresholds, vectorizations and more.