Hi guys, I’m really a novice at Fritzing and I’m trying to build my first PCB.
The main problem is that I have quite some devices that I would like to use. Because of that it is quite hard to set the lines so that they do not cross.
Anyways, As the Pins of the Raspberry Pi are on the edge in two rows the connections to the outer row will always be too close to the inner row.
How can I fix this in order to get a nice and clean setup of the lines?
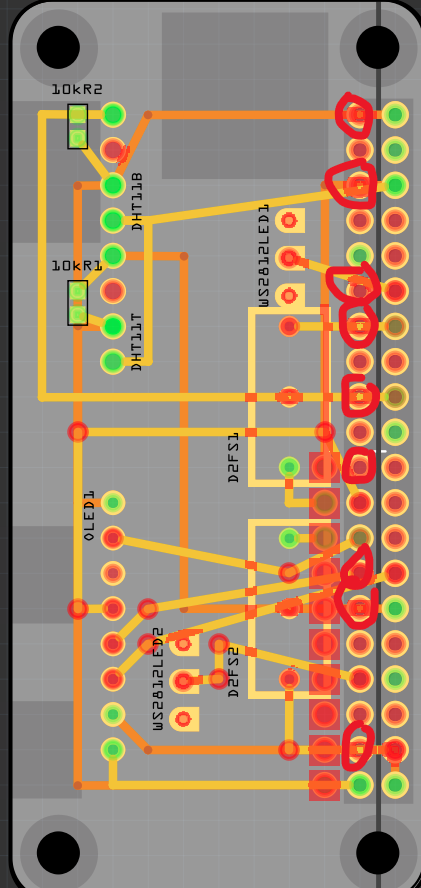
You have three choices, with the current part you need to route the traces from the right of the RPI connector like this:

if that doesn’t do what you want (as in the case of trying to make a hat) then you either need to switch to this connector
Raspberry-Pi-Header-40pin-improved.fzpz
from this post
or to this new zero part which has that connector in it.
raspberry-pi-zero-oblong-pins.fzpz (25.0 KB)
to use either of the last two solutions you will need to change the grid size in pcb like this:
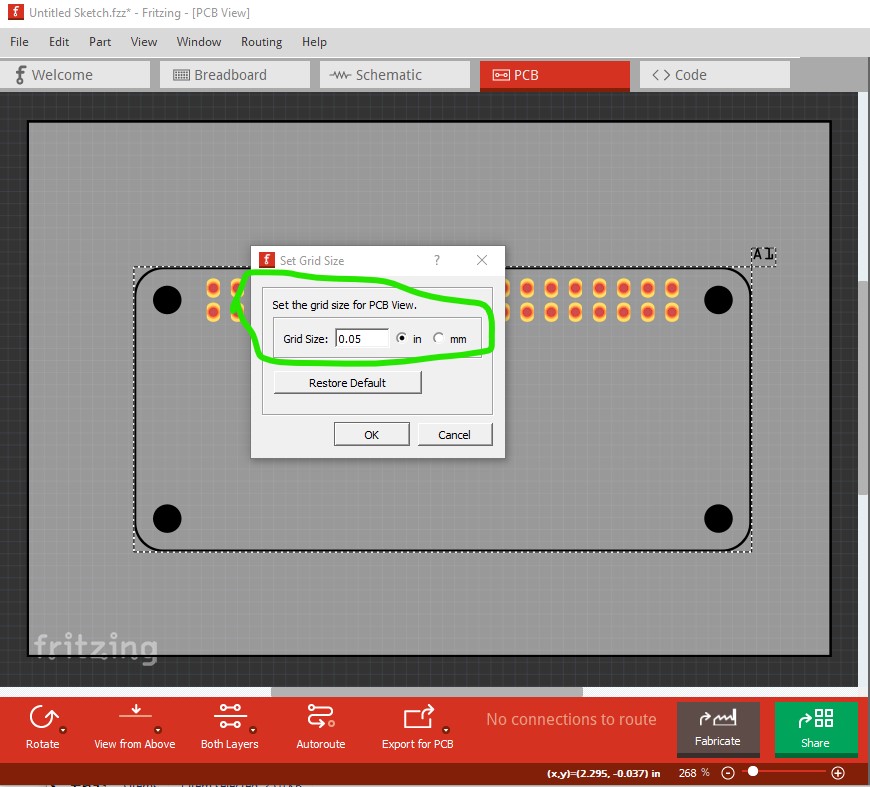
in order to be able to position a standard trace between the pins without colliding with a pin.
Peter
2 Likes