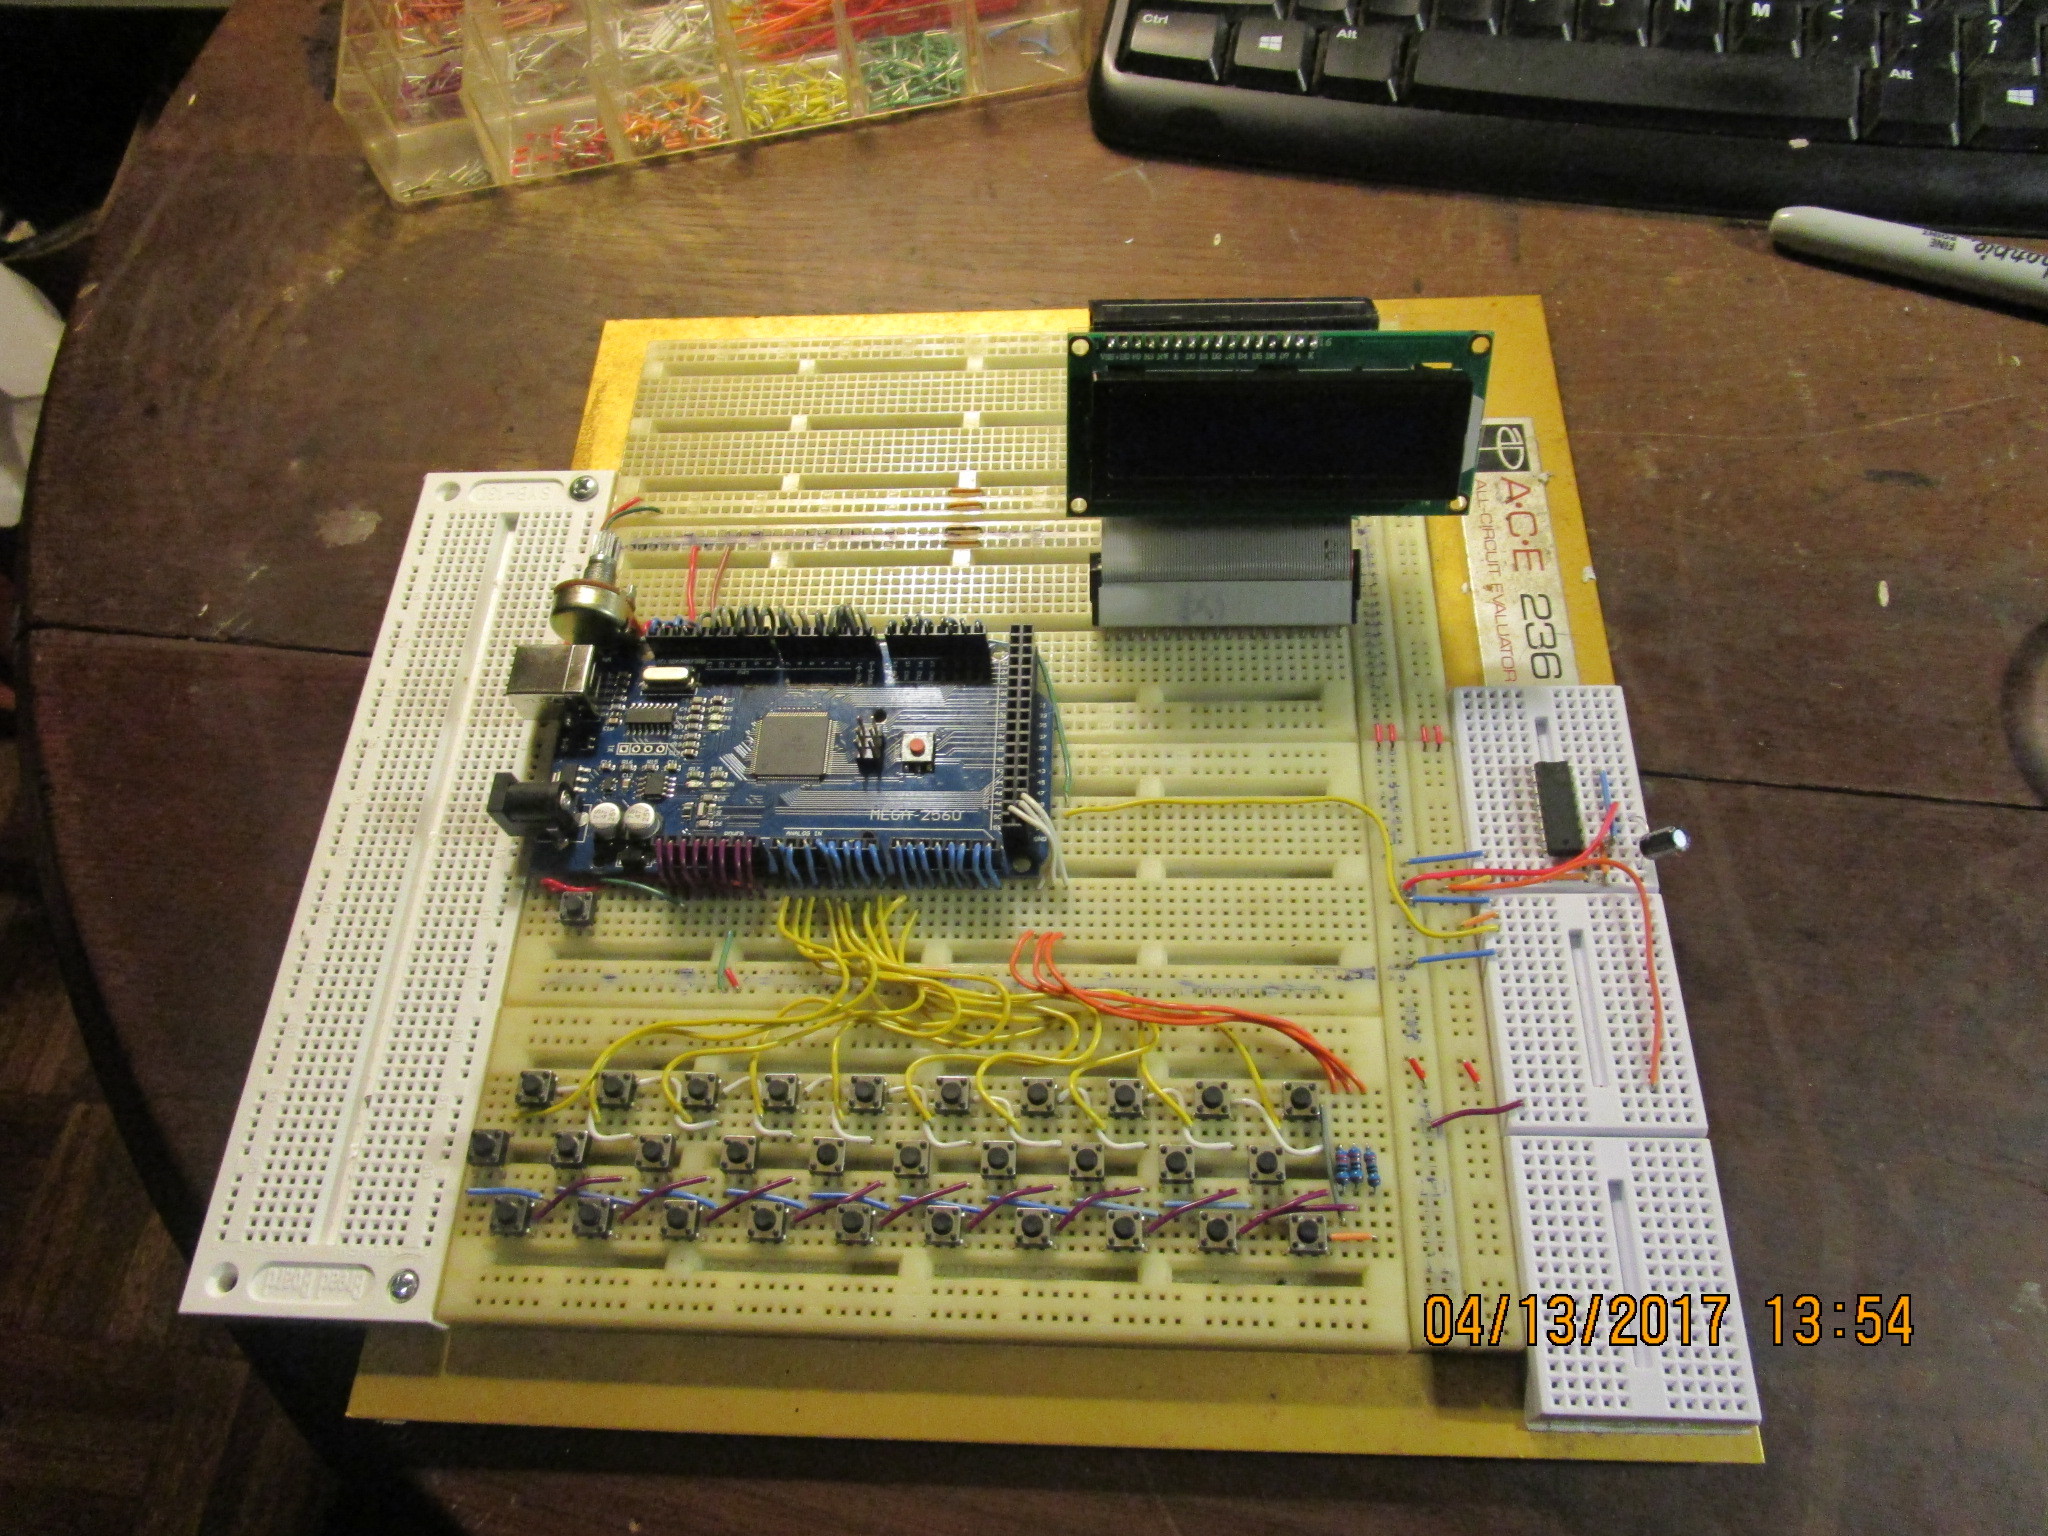
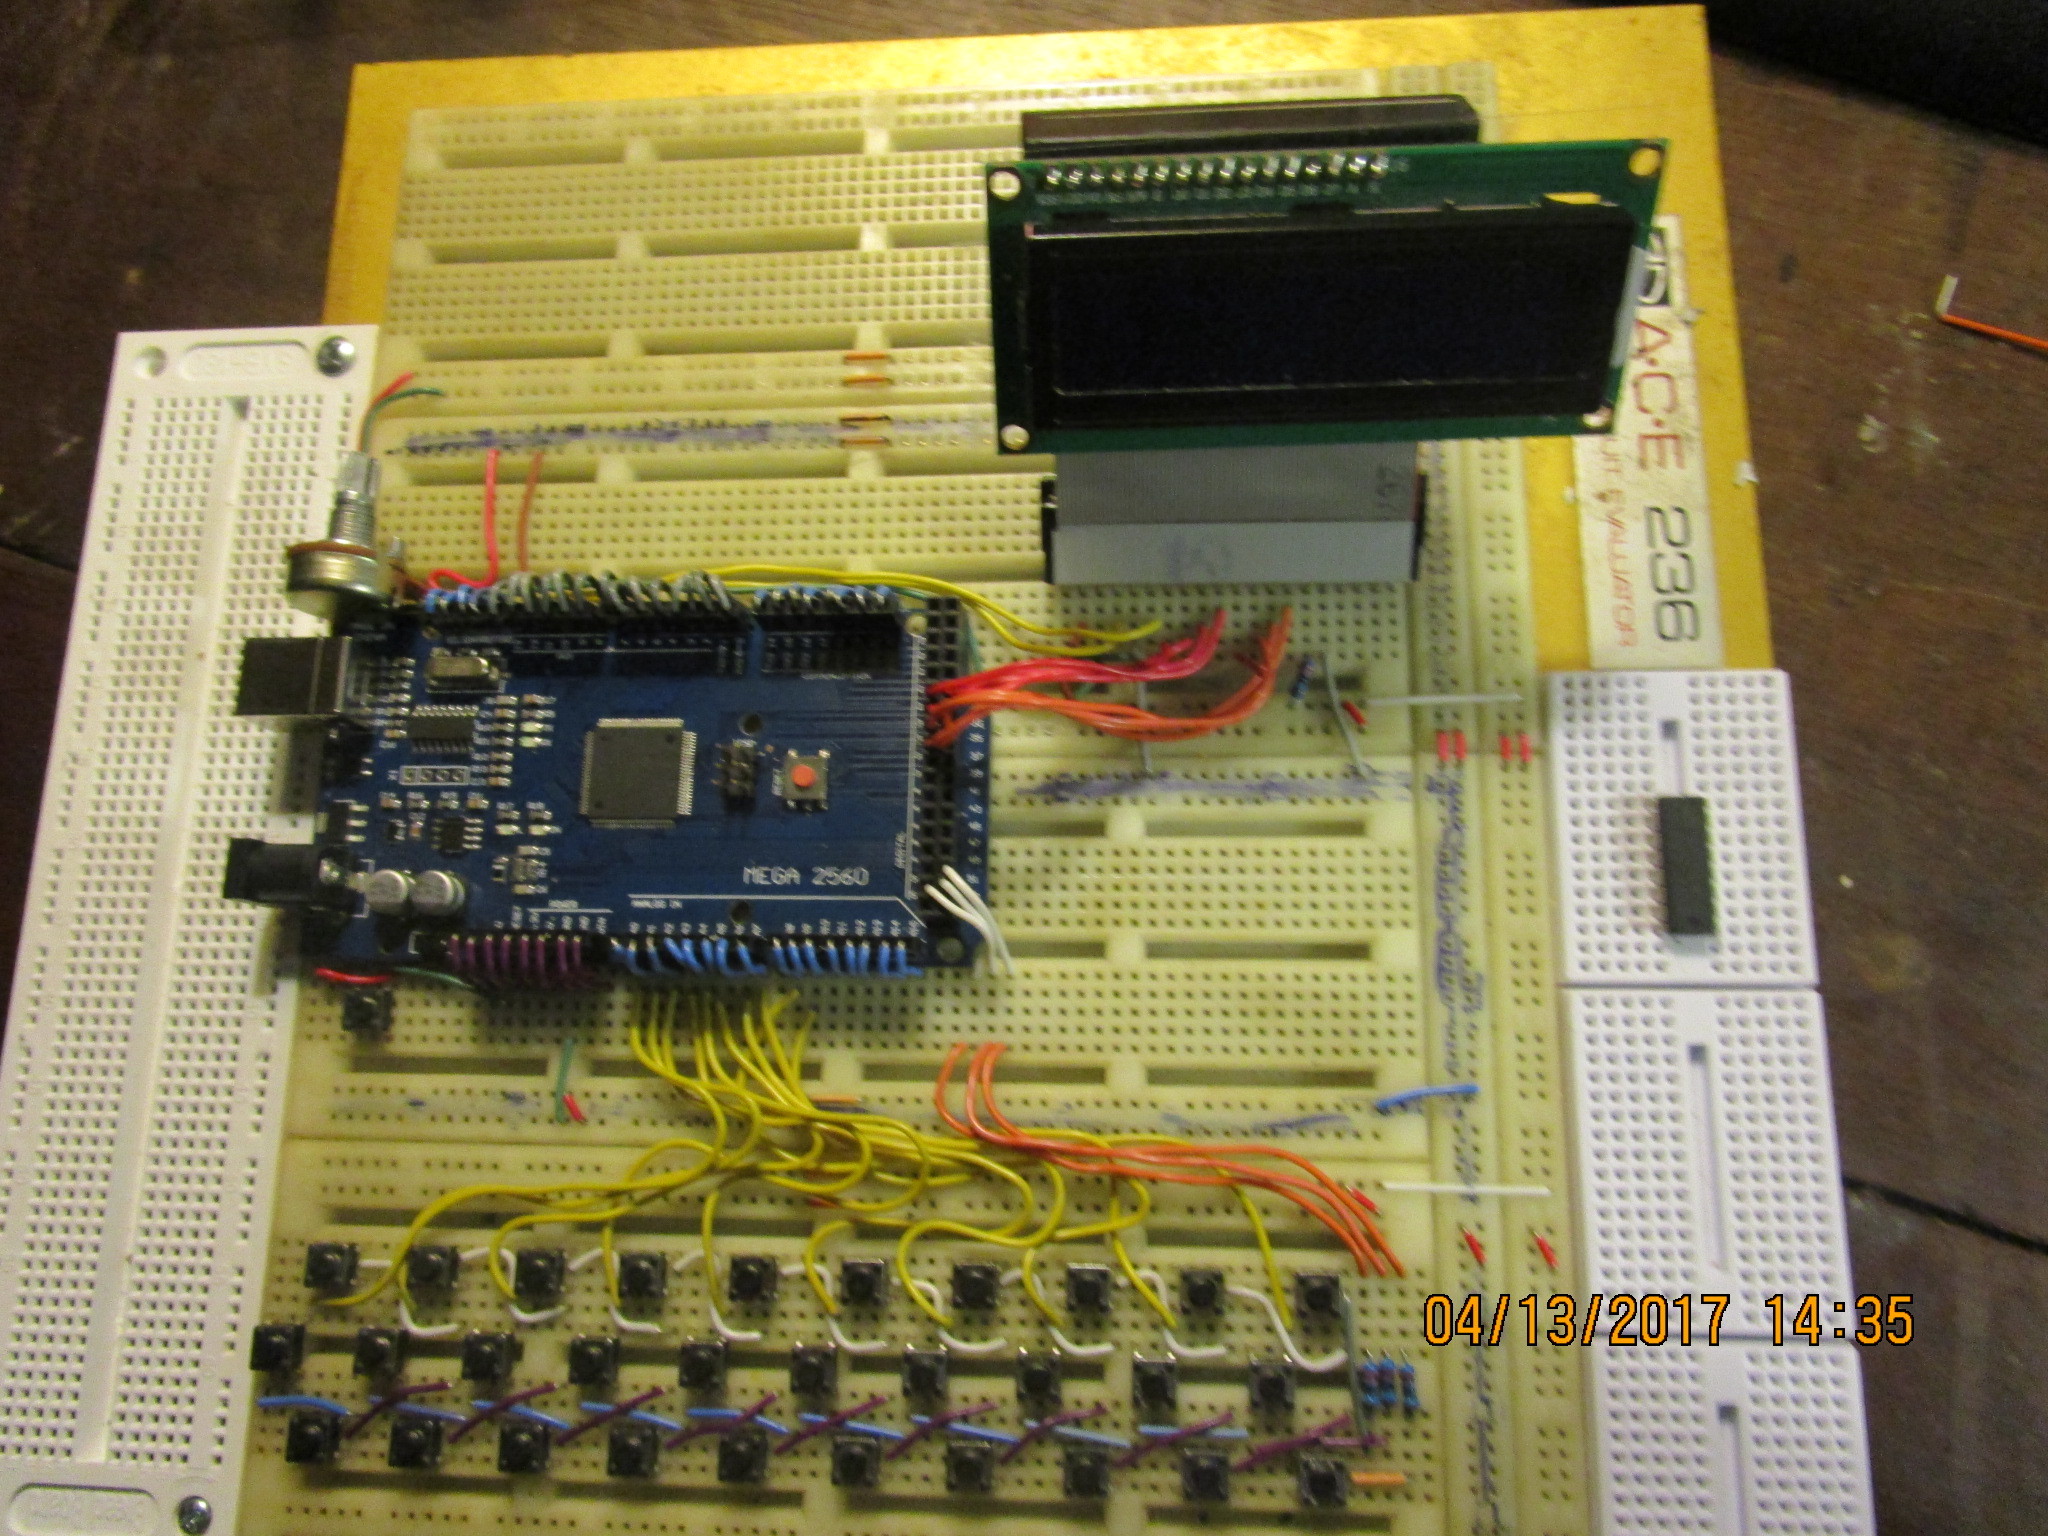
This is the MEGA BREAD - Custom LCD Header Tutorial.
This is #3 in the MEGA BREAD series, Base, keyboard, and now the LCD Header.
Remember that this is being developed for robotics,
My son is getting into a Robotics class next school year in High School.
Very cool thing, public schools, they get a bad rap sometimes.
Youtube of the MEGA BREAD - LCD Header
#Here is how you can make it.
The MEGA BREAD LCD Header is made to lift it for correct test viewing, Or you can keep it that way.
#Step 1
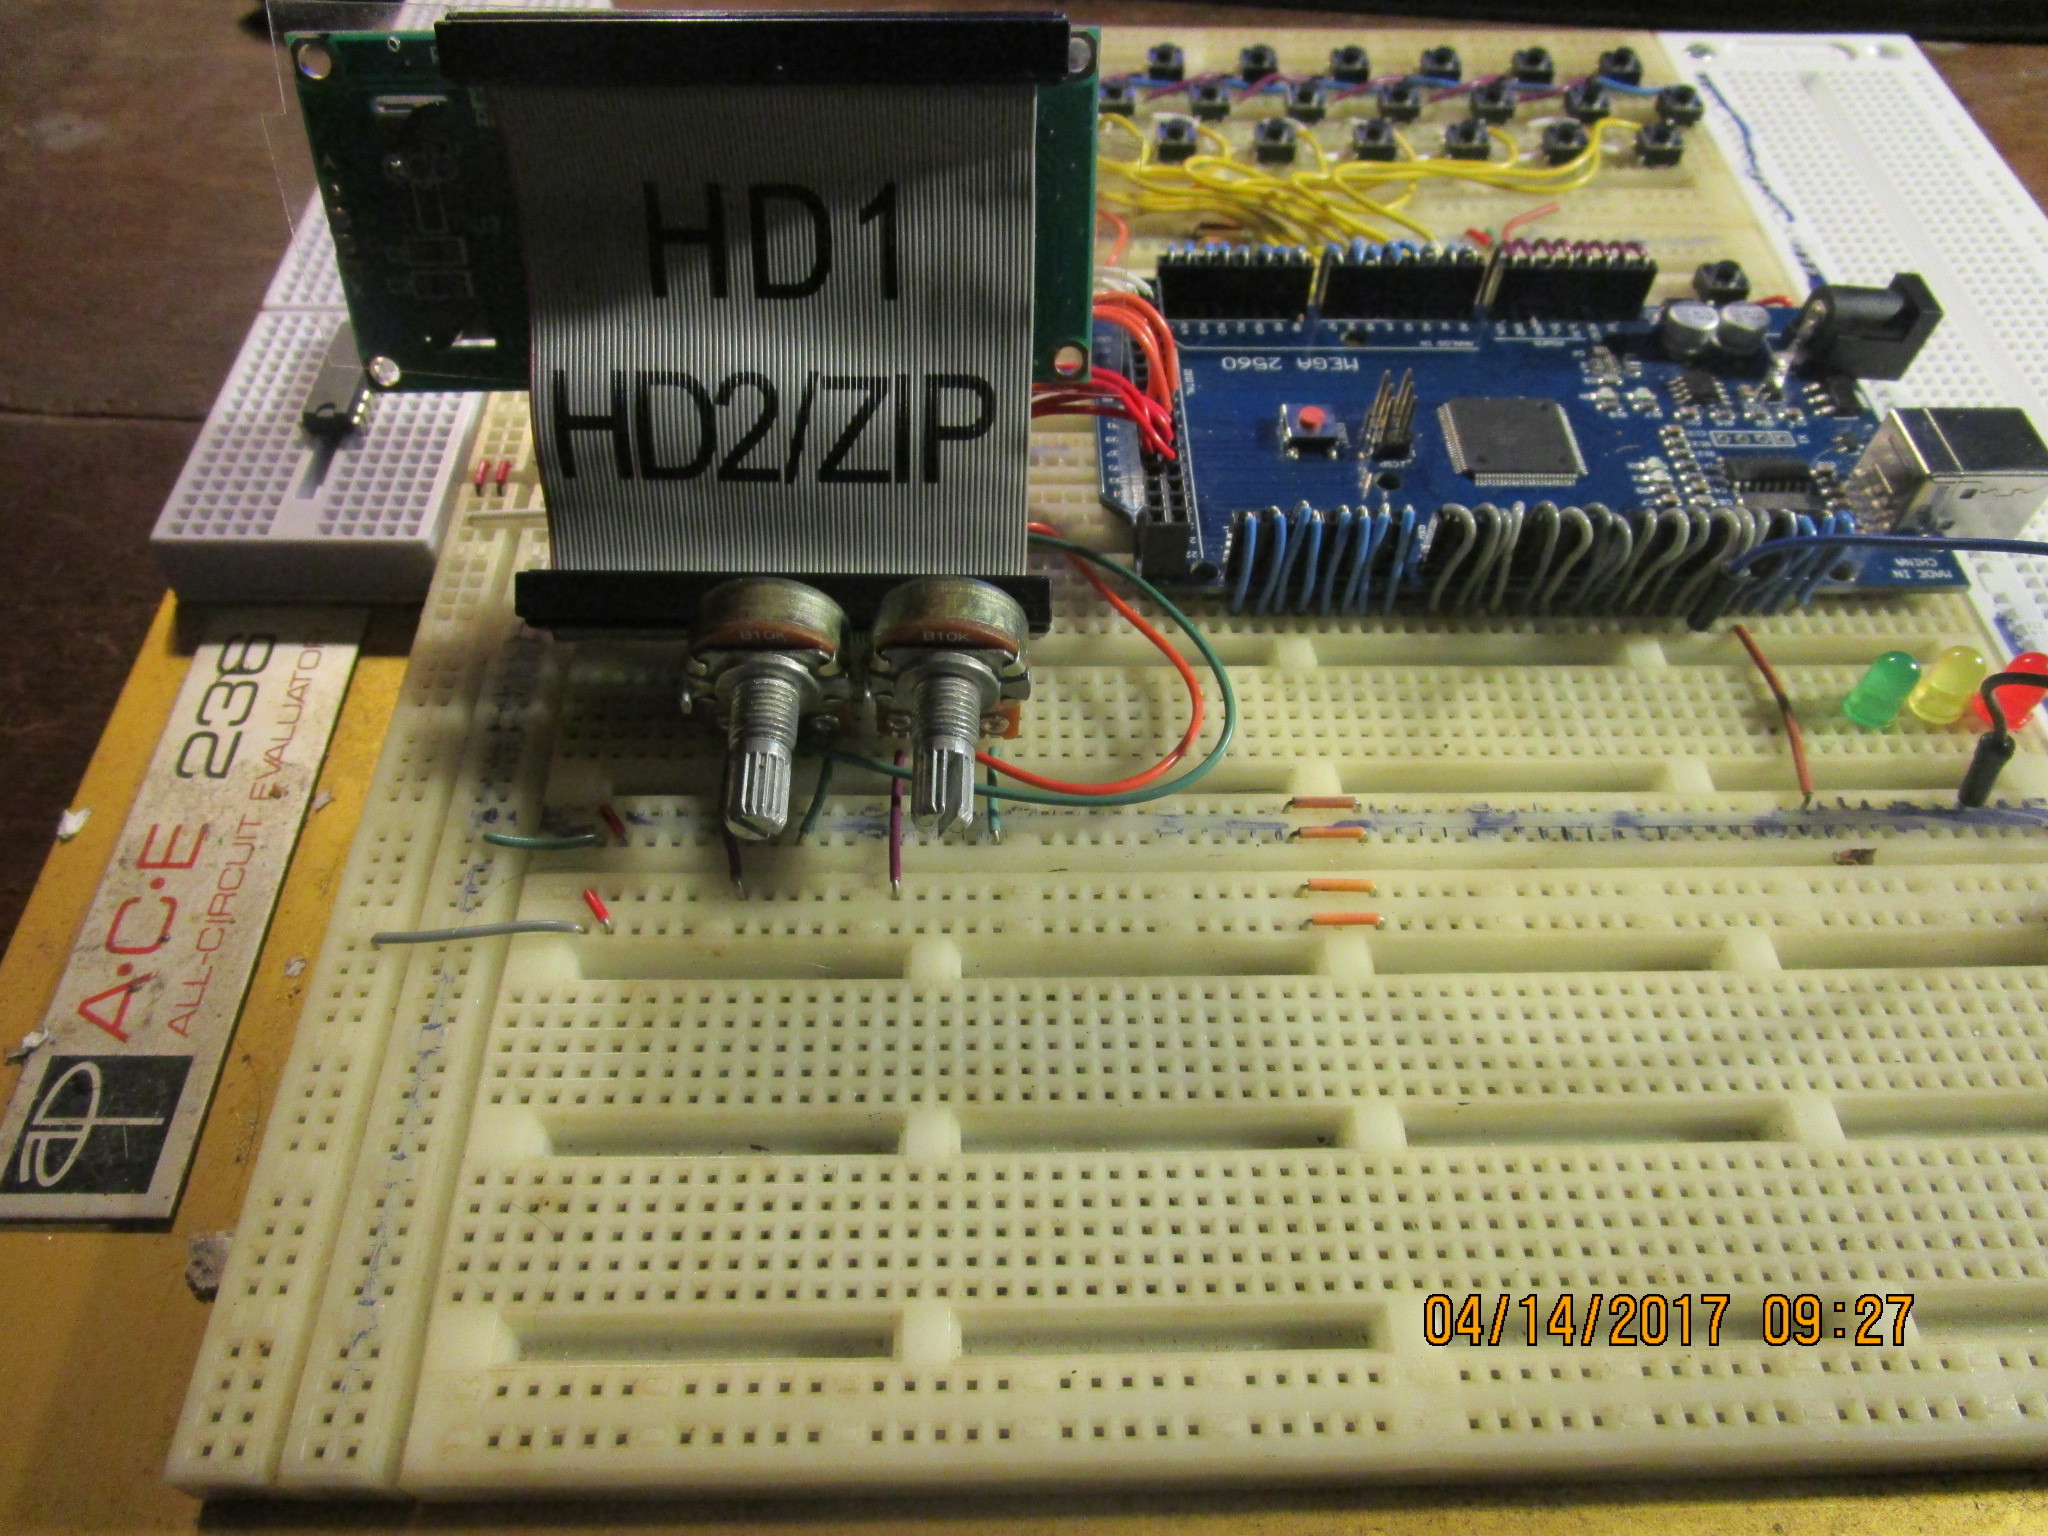
Find an old Floppy Drive (Or Hard Drive) Ribbon Cable like below.
#Step 2
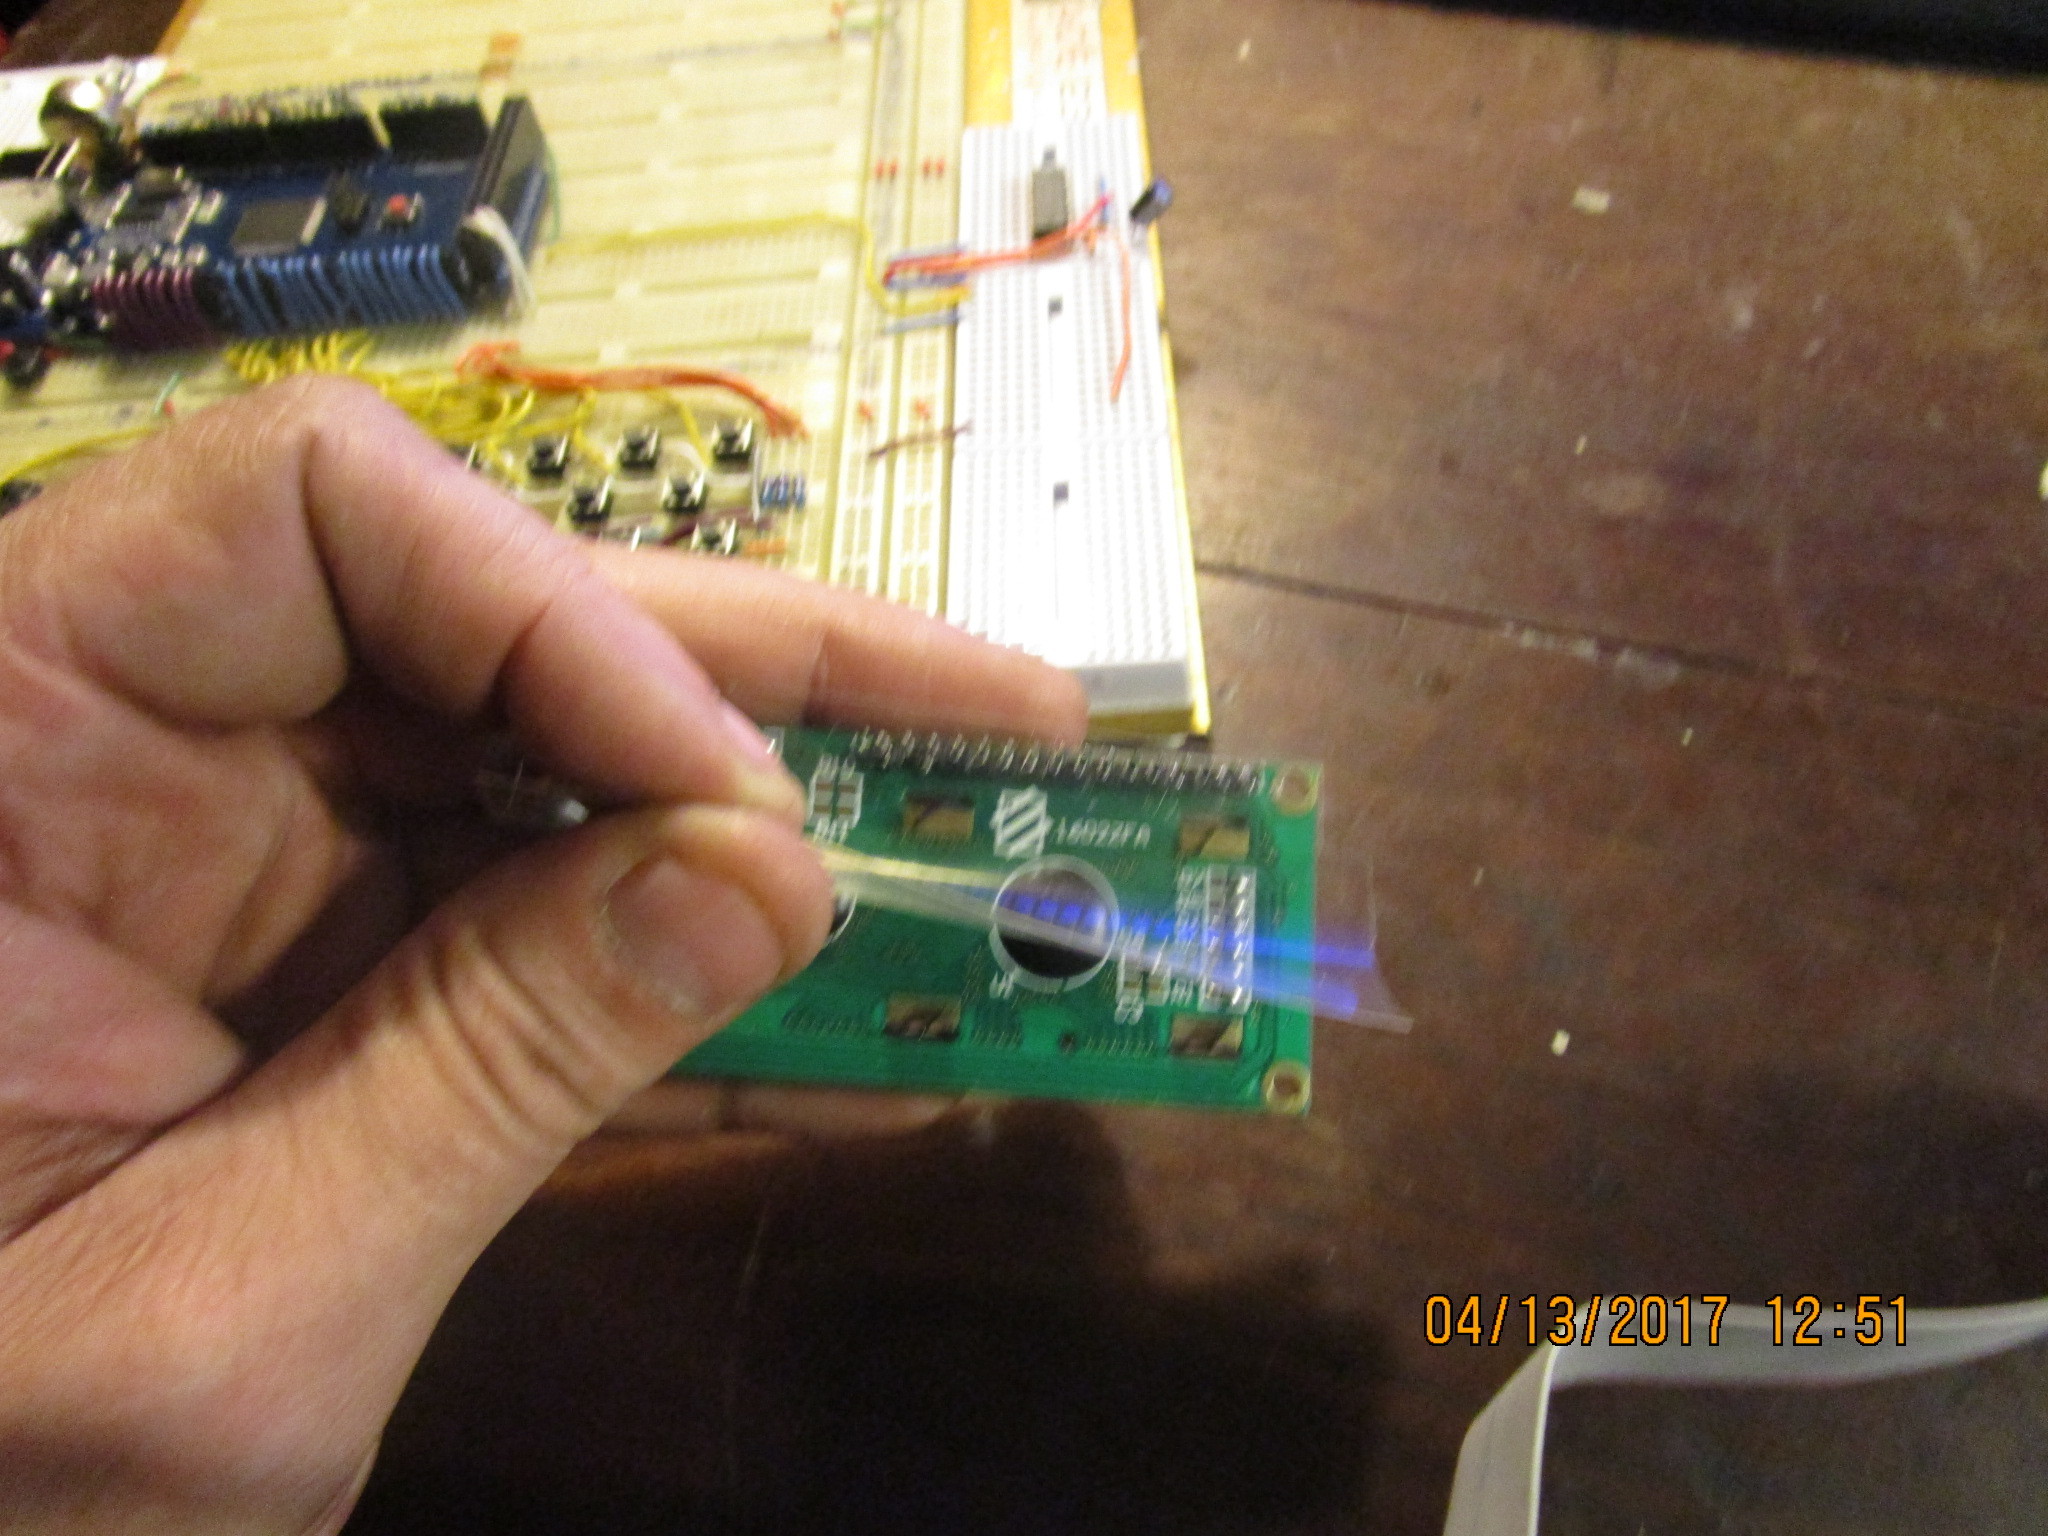
Attach some kind of electrical short barrier to the back of the LCD module. I used the plastic film from under a computer power supply PCB ![]()
#Step 3
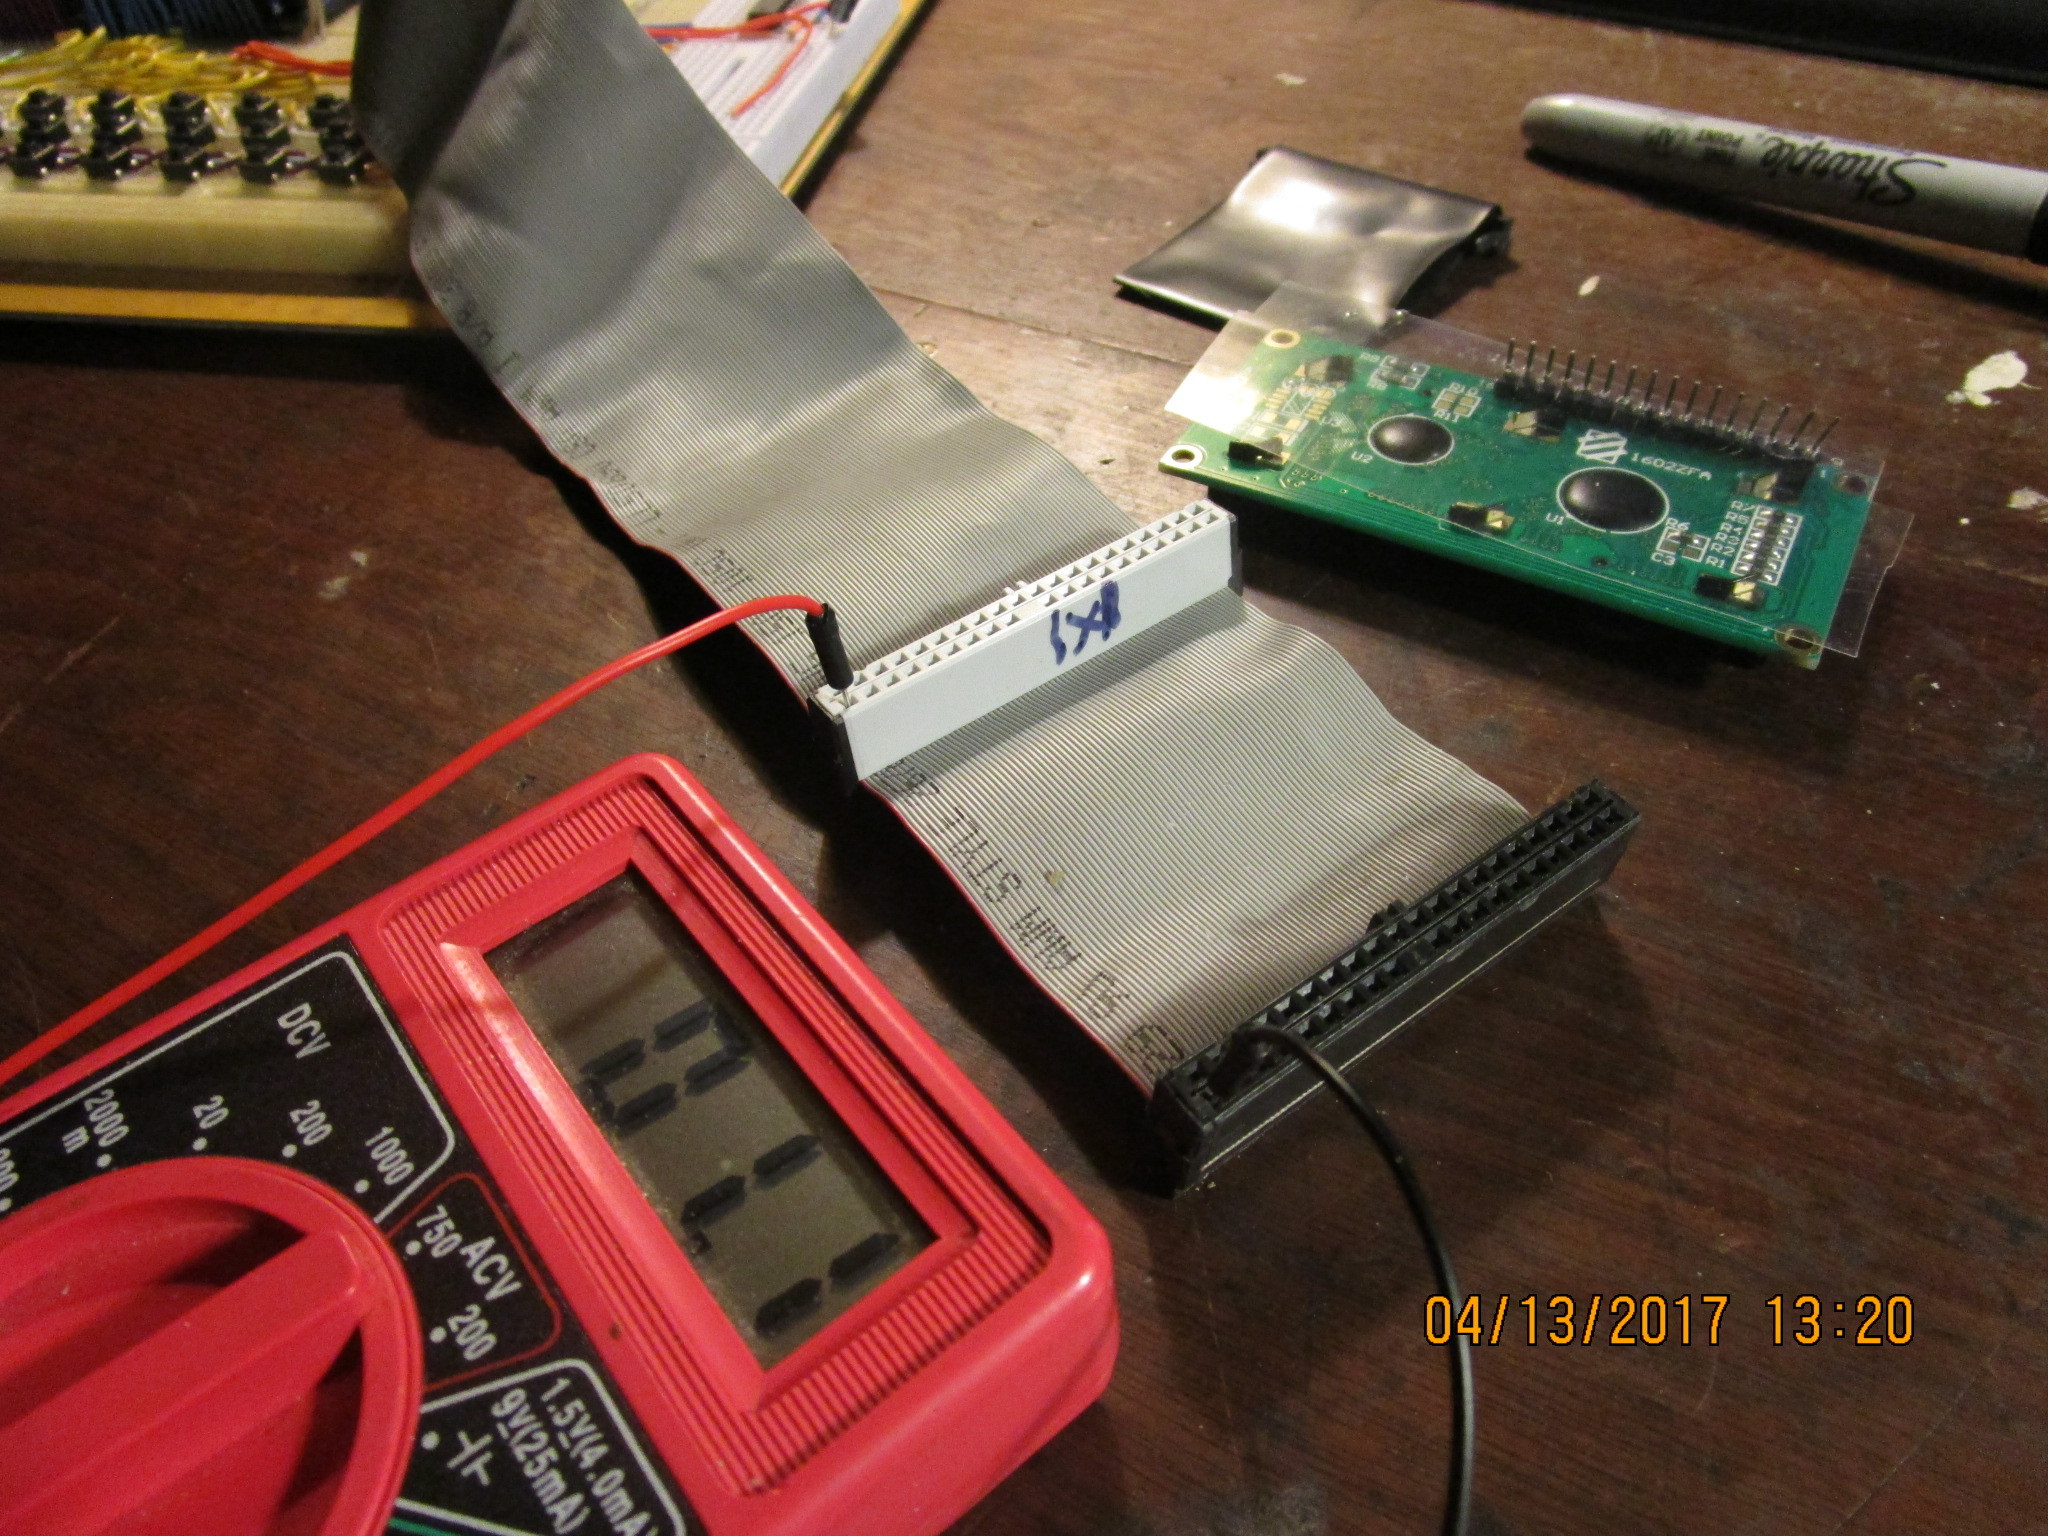
Test your New/Used ribbon cable for crossed/common pins. This one has 4 combined where the |X| is.
#Step 4
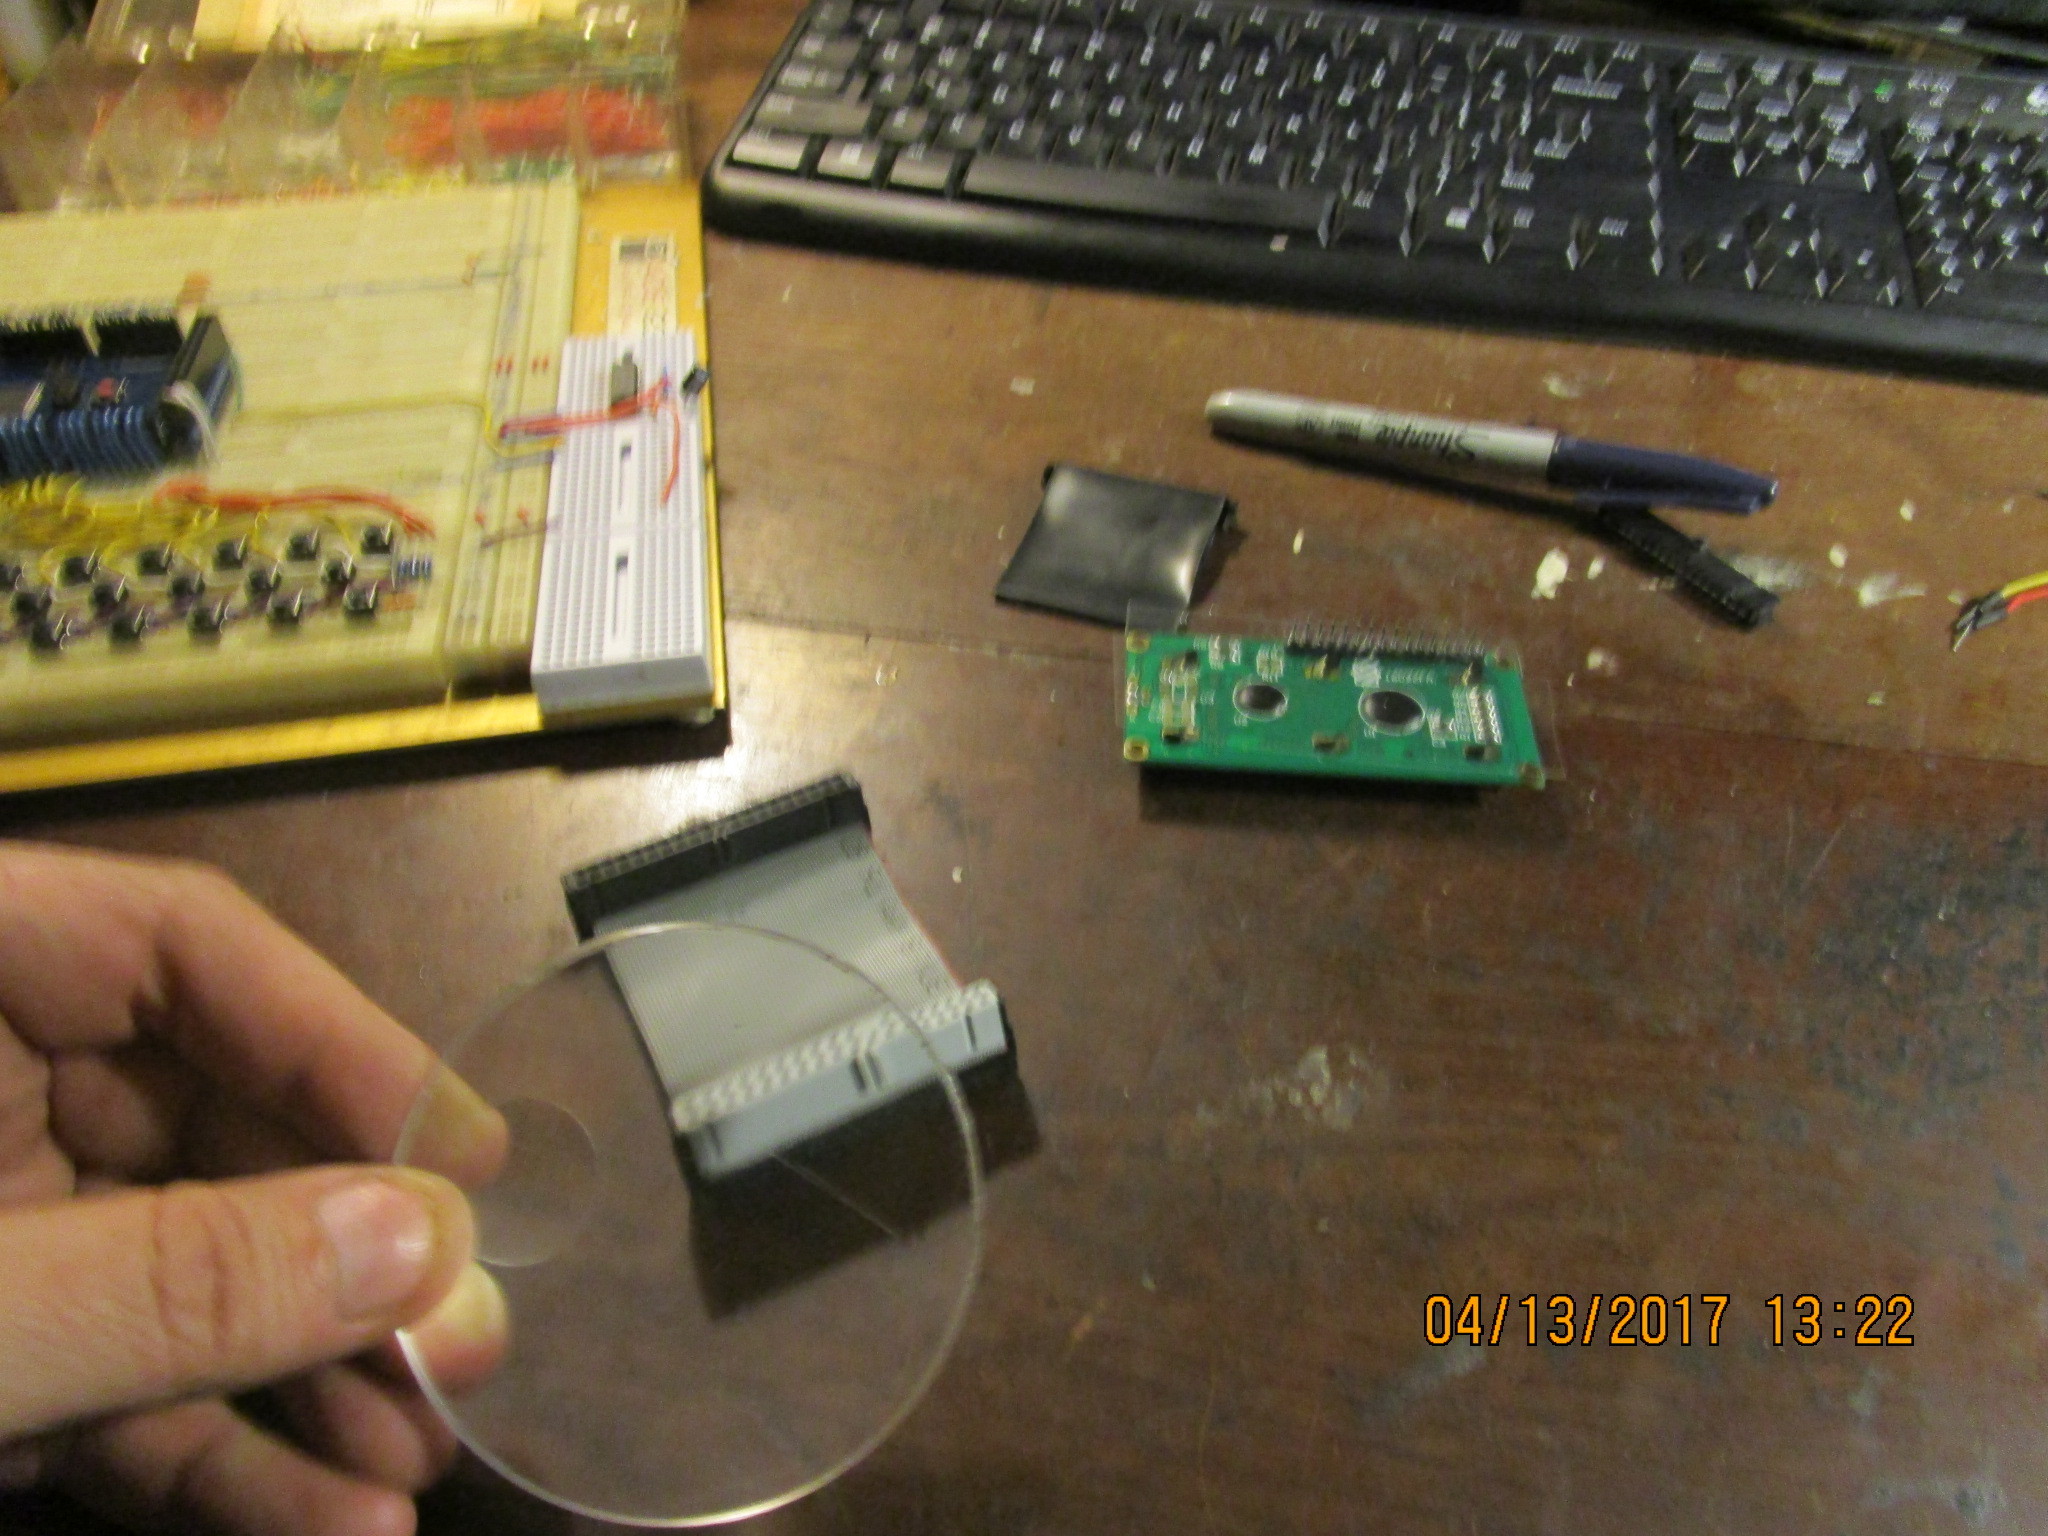
Cut the ribbon off of the side that you do not need, Be sure to use something SHARP.
After cutting, Closely inspect for crossed wires.
#Step 5
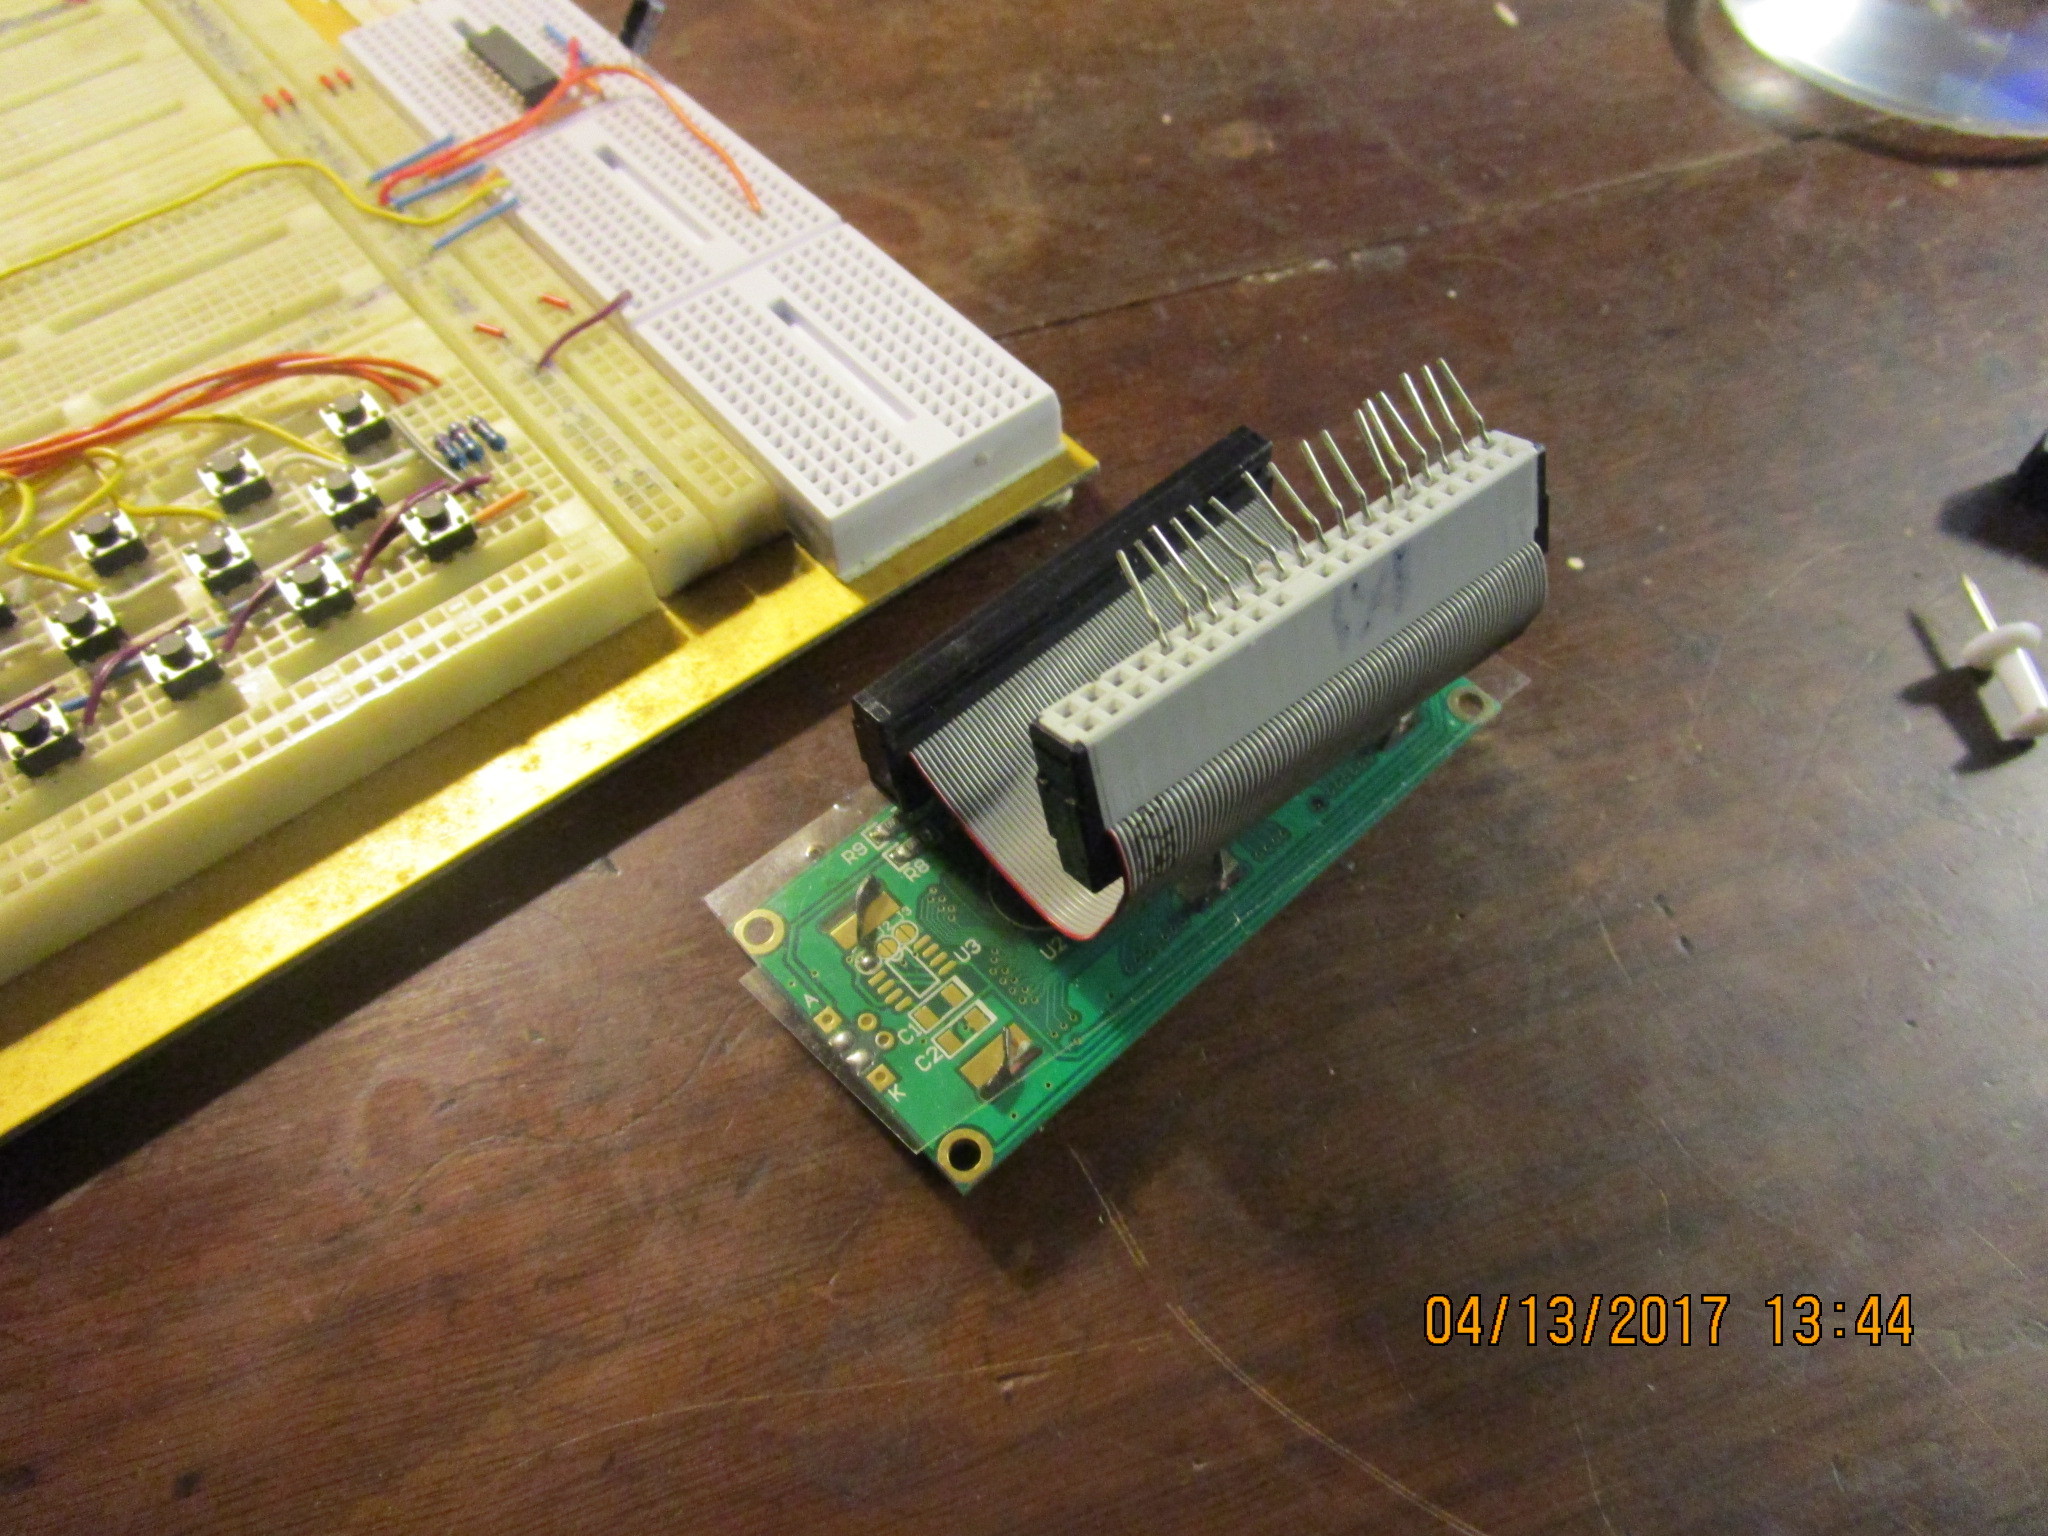
Find and add your crossover pins to connect to the MEGA BREAD, Please DO NOT use the header pins supplied with your Arduino parts, they are not long or strong enough.
A Cut up Paper Clip works wonders here…
Tip, Set it up with all of the pins connected on both sides of the ribbon cable plug header.
It will allow for further expansion of your header for more items.
Be careful about what you plug in to what, double check your common pins.
#Step 6
Plug the header pins into your breadboard. Watch out for crossed leads.
Especially if you went cheap and used the pins supplied with your modules.
#Step 7
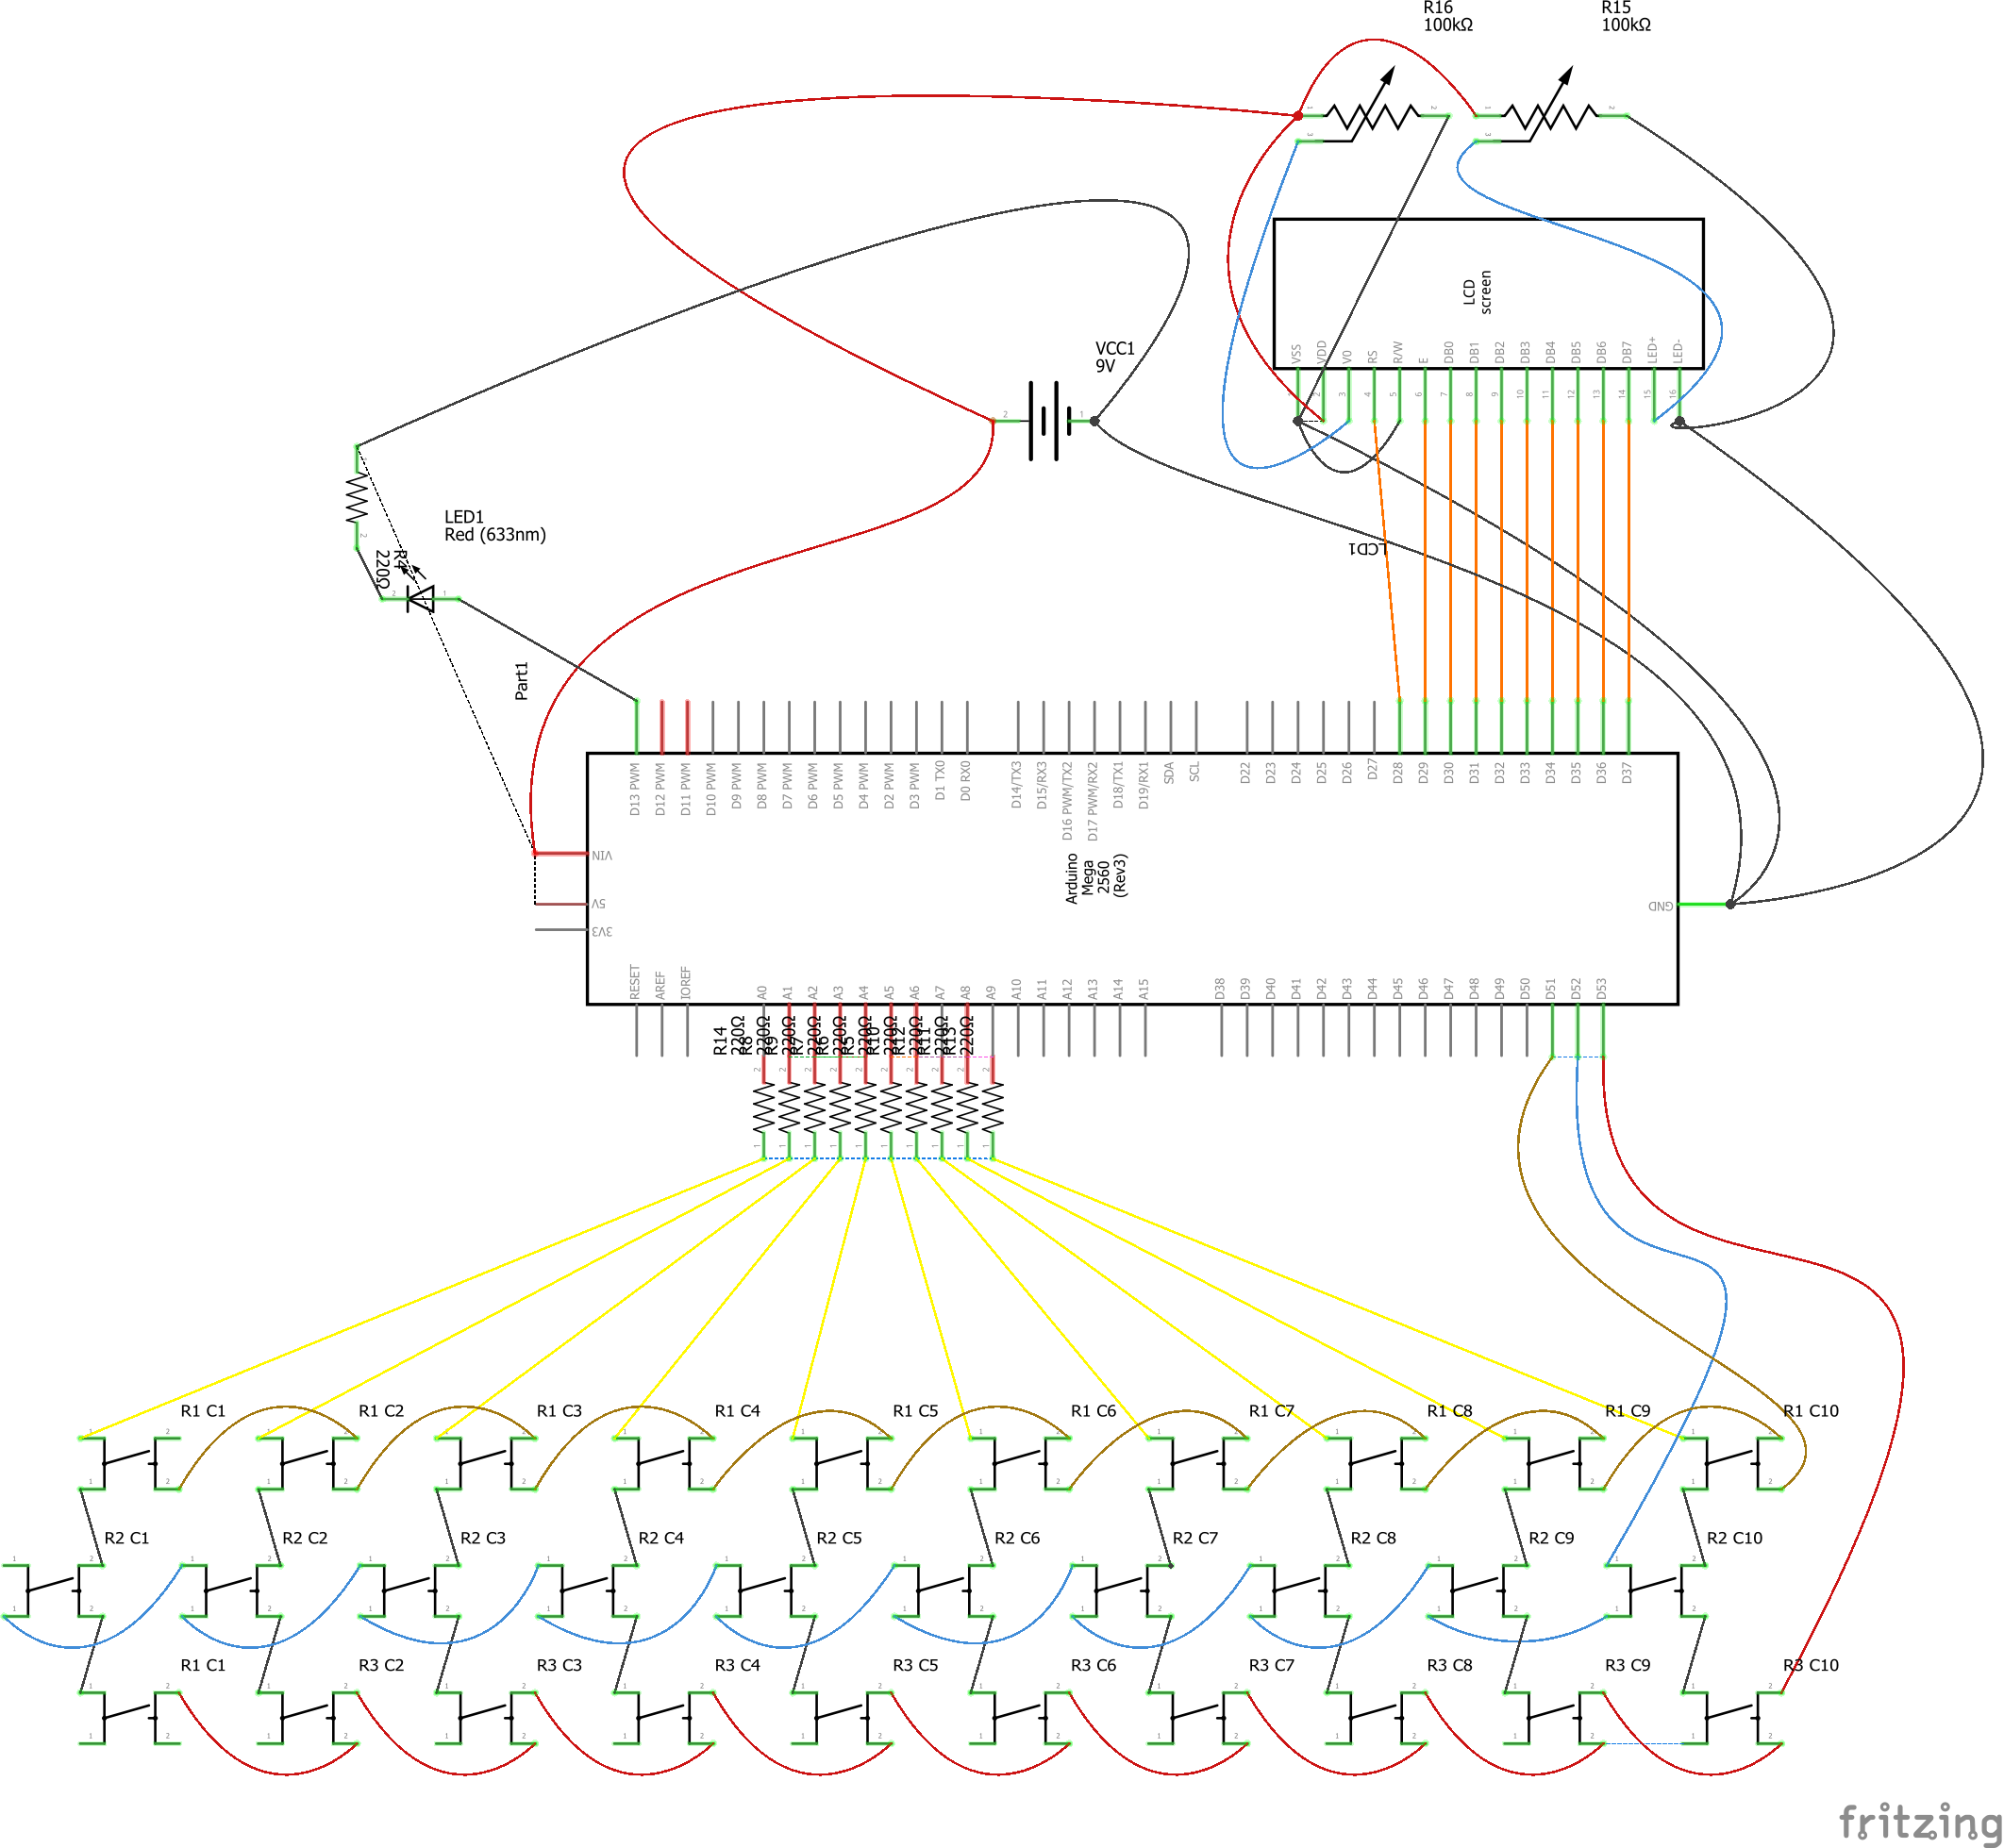
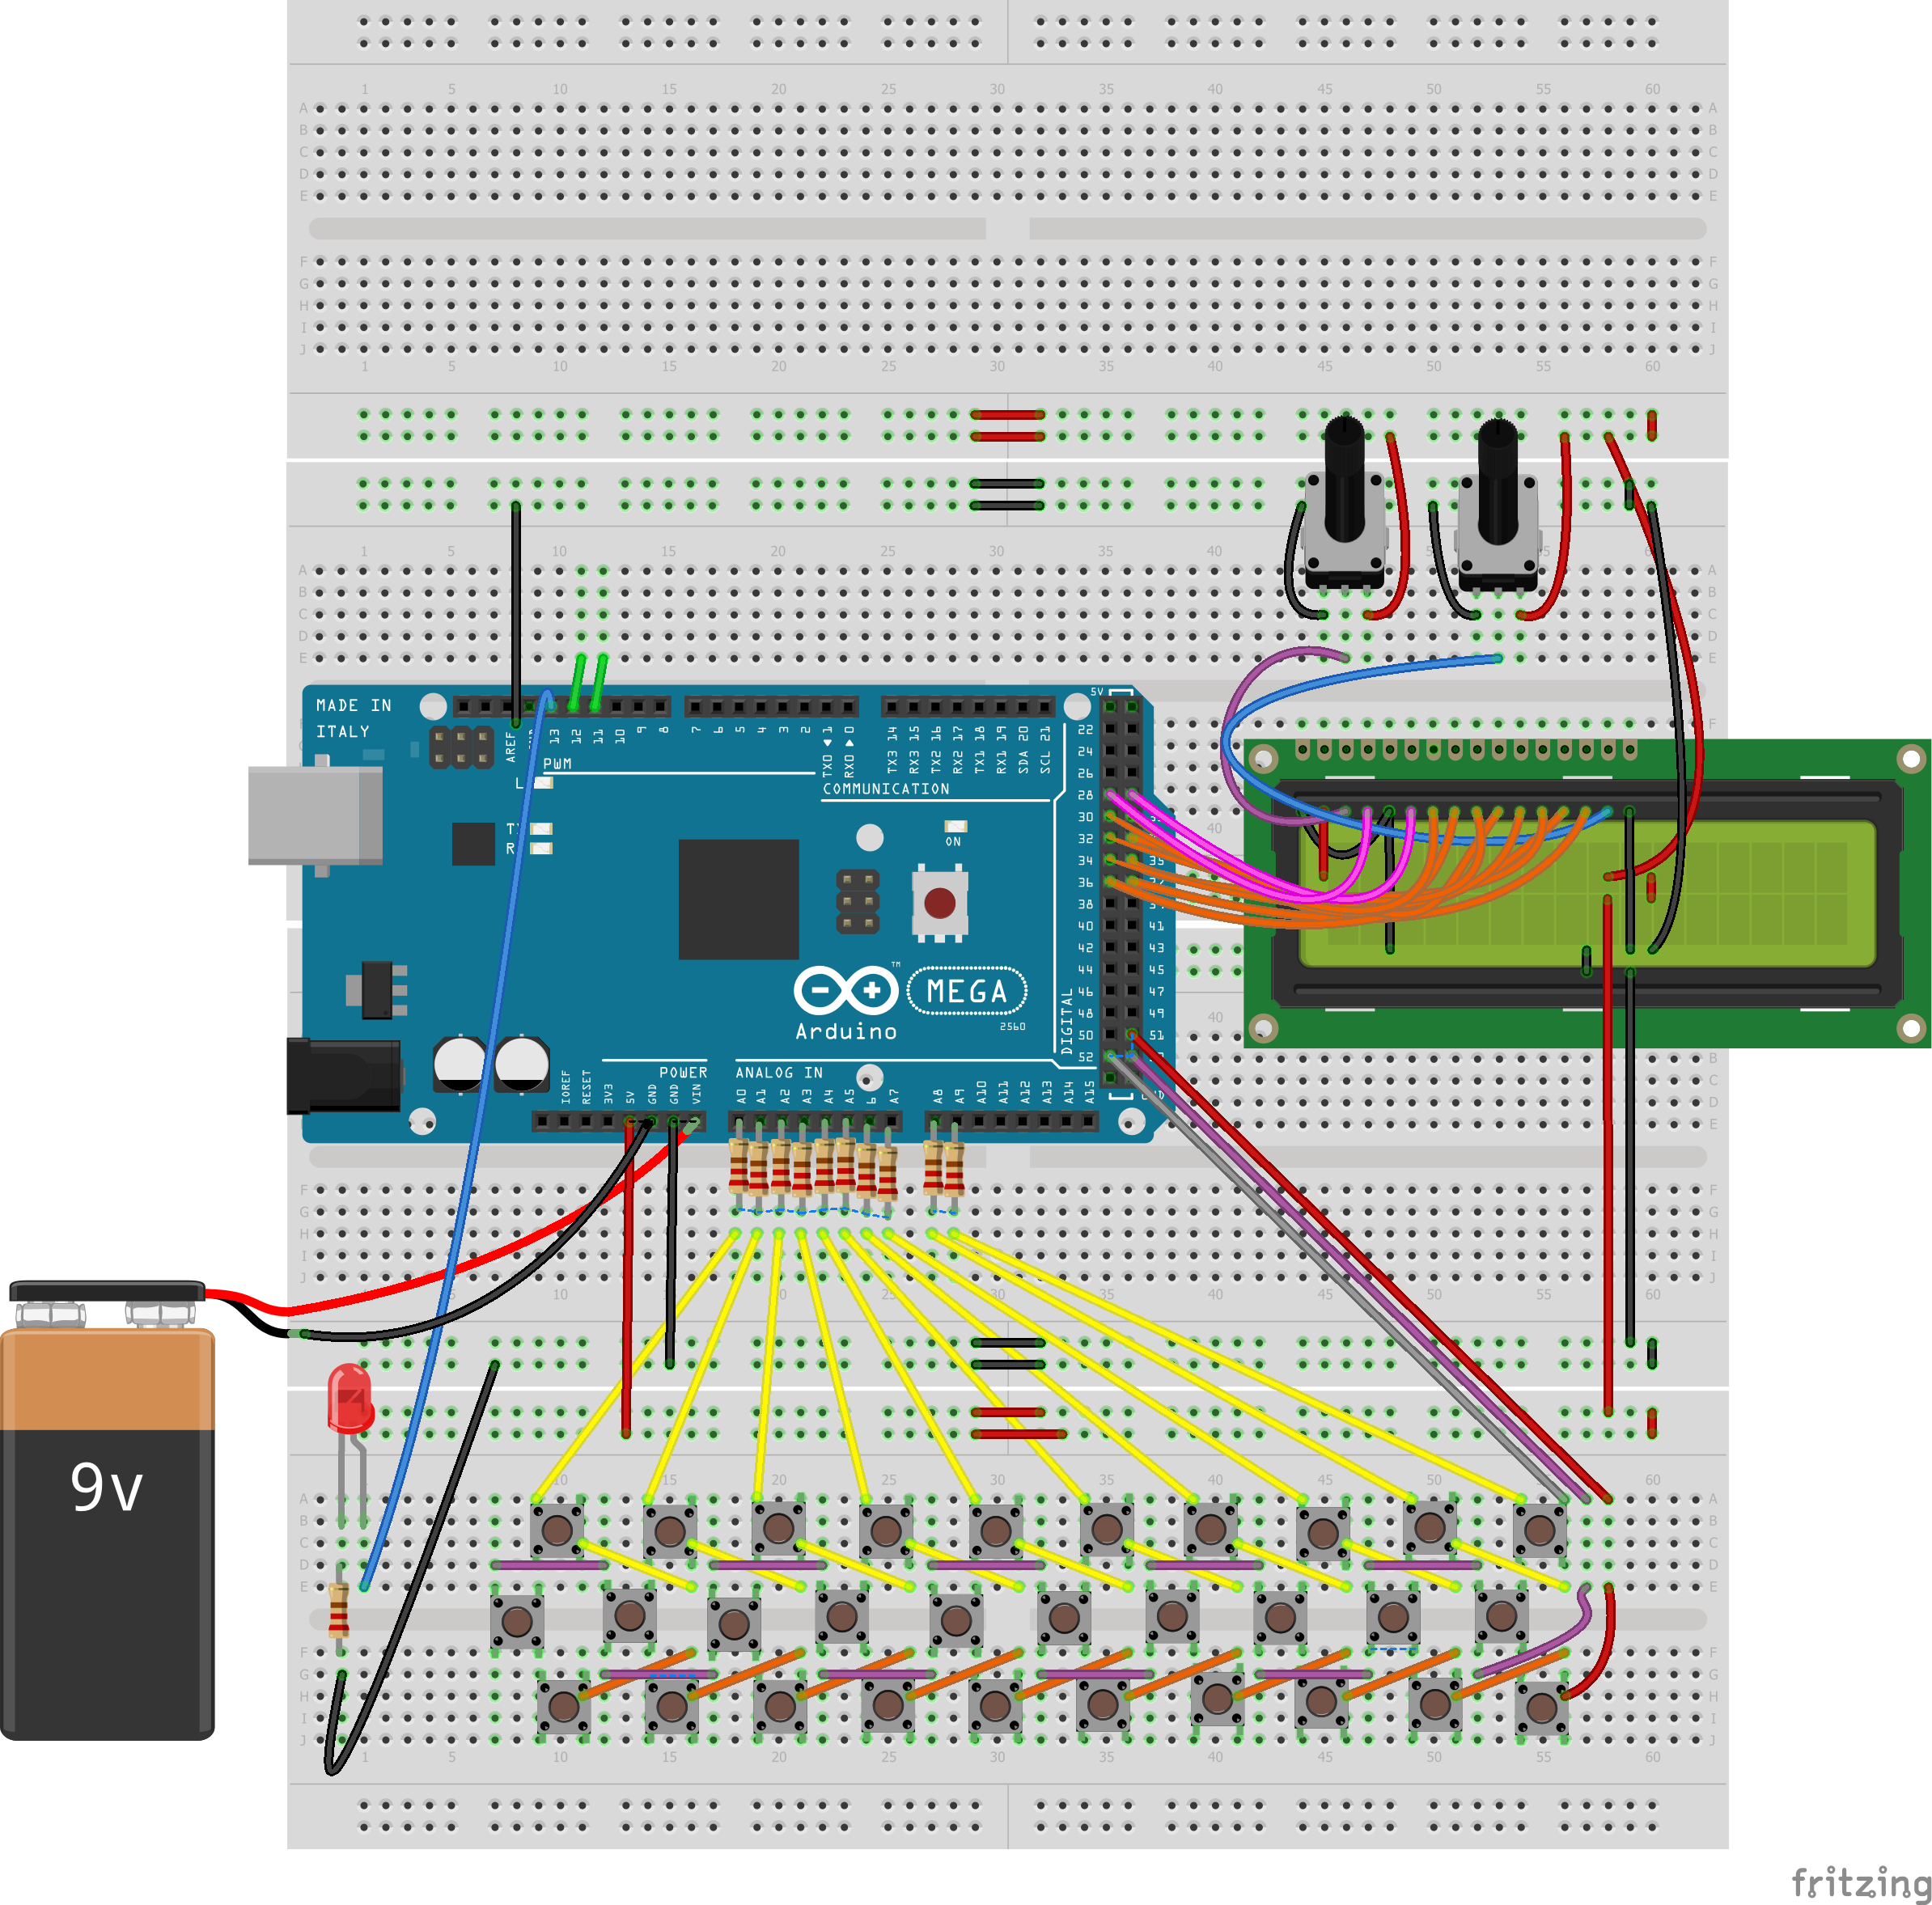
Connect the Pontimeters up behind the LCD to utilize less space on your MEGA BREAD.
Tip, You can hook these leads to the PWM pinouts for software LCD brightness and contrast values.
#Step 8
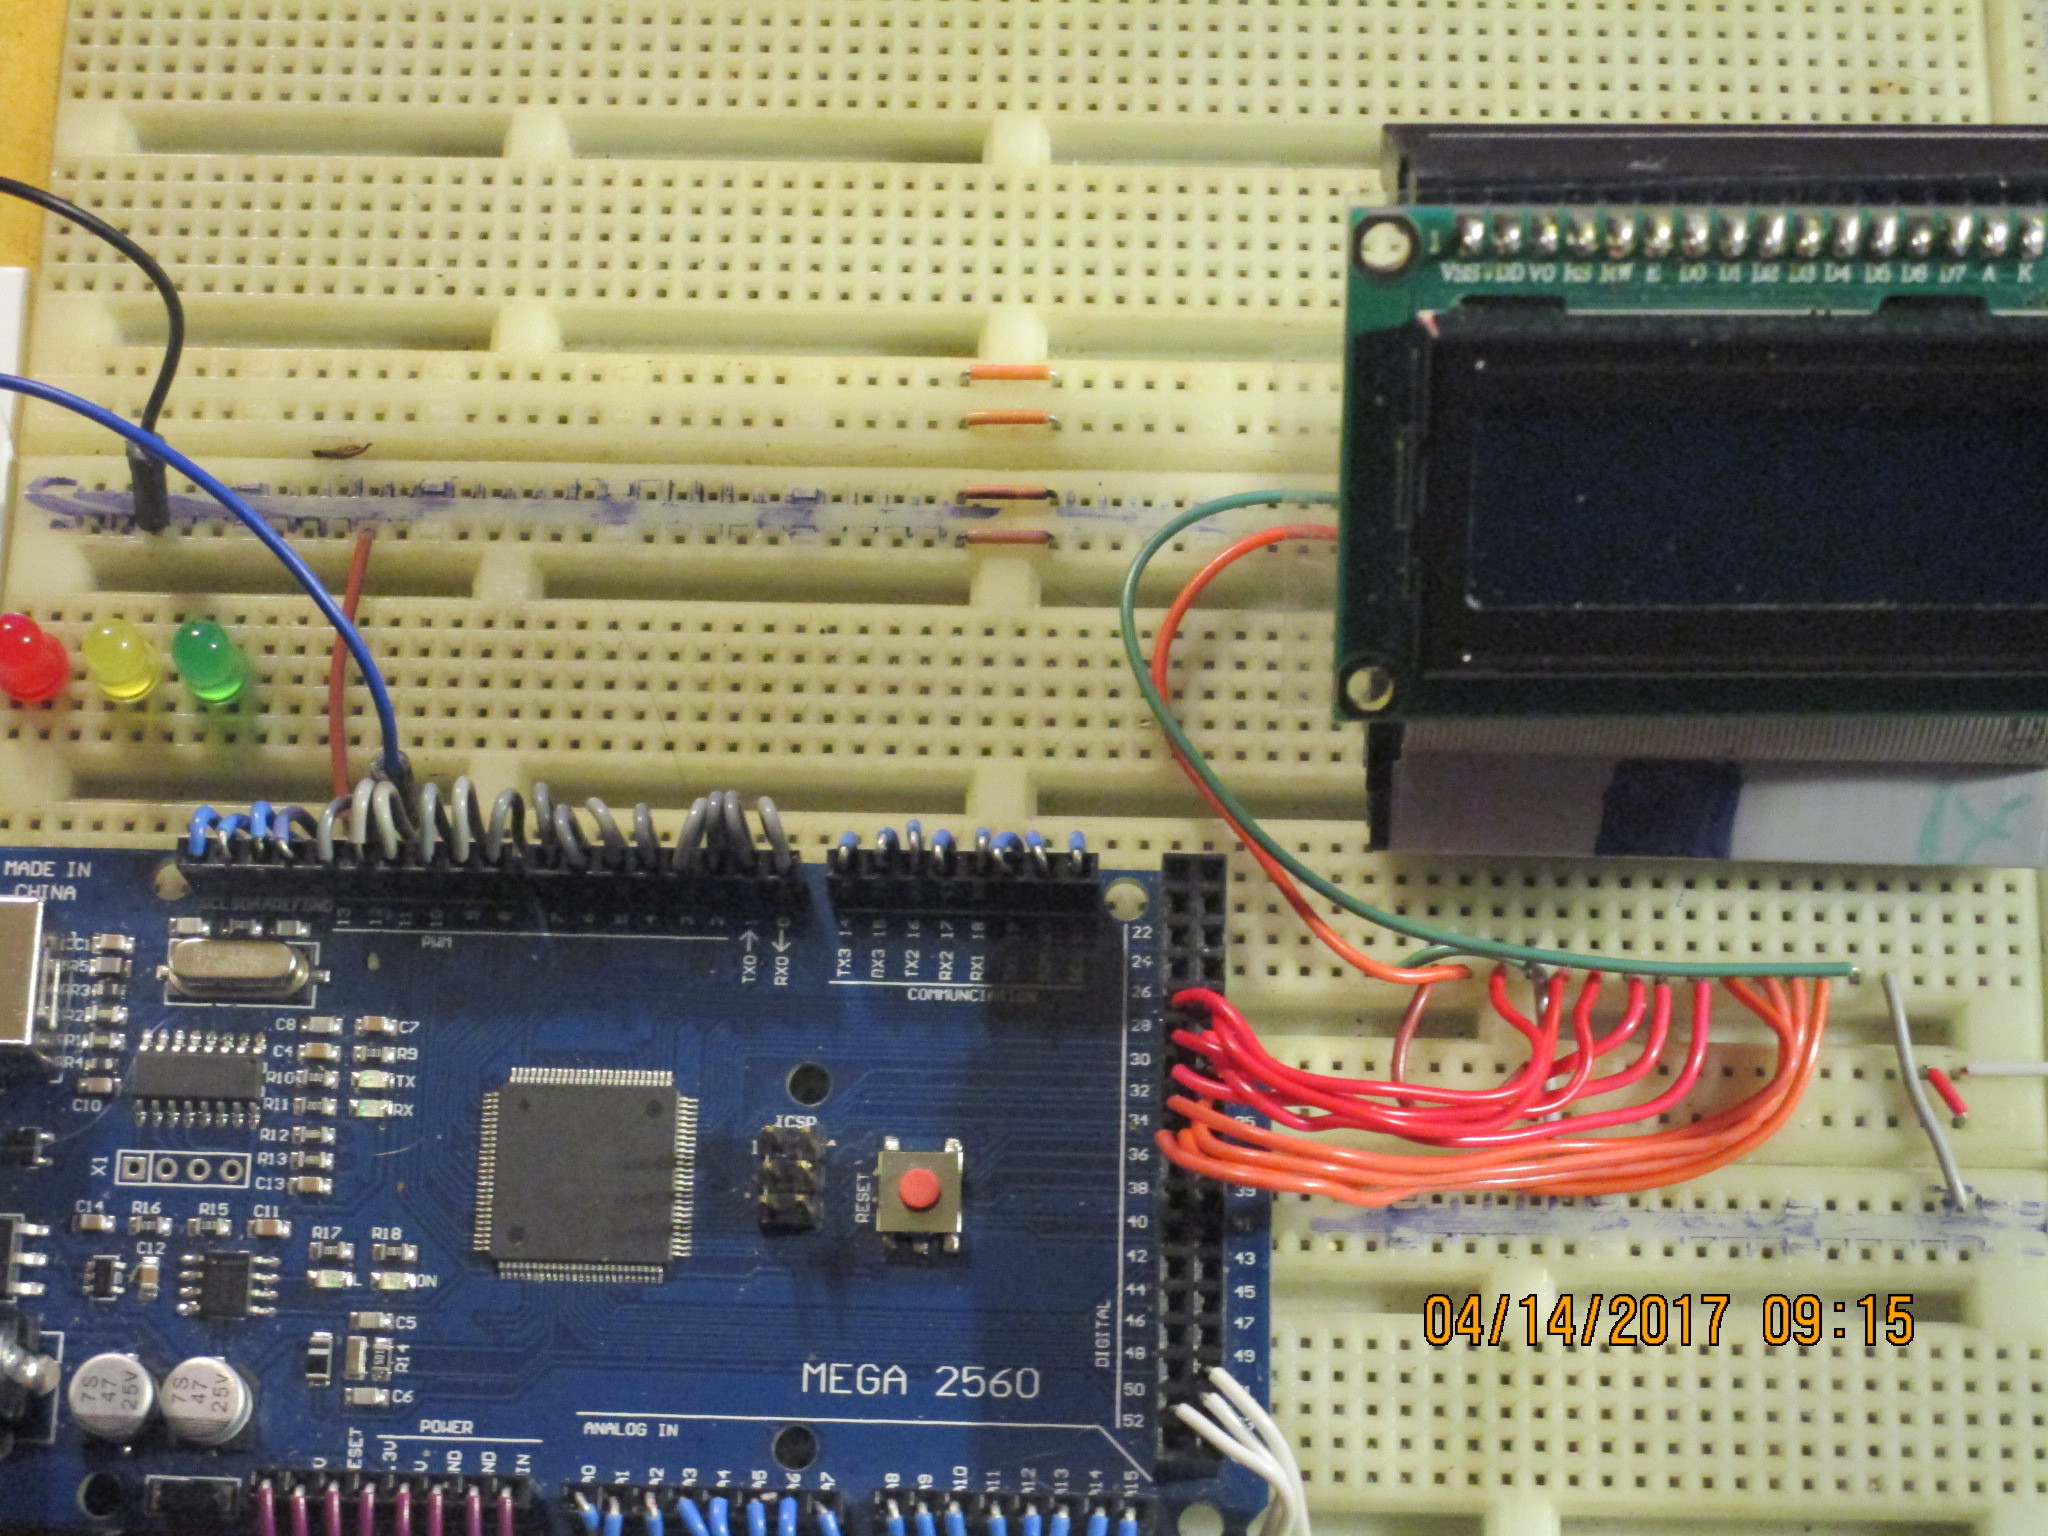
Wire up the LCD however you want to. In this example, I am using the 8-Bit transfer setup.
Tip, You do NOT need to use the clocked pin-outs 12, 11, or 10 by default. (YELLOW WIRES ABOVE)
Try Running them to your digital header on the MEGA2560. It works just fine in 8-Bit mode.
#Step 9
#Base Code for the MEGA BREAD LCD Header
include <LiquidCrystal.h> //Import the LCD library
int delaytimeA = 1750;
//Setup 8-Bit mode with no PWM pinouts
LiquidCrystal lcd(28, 29, 30, 31, 32, 33, 34, 35, 36, 37);
/Initialize the LCD and
tell it which pins are to
be used for communicating/
void setup() {
// set up the LCD’s number of columns and rows:
lcd.begin(16, 2);
}
// put your main code here, to run repeatedly:
void loop() {
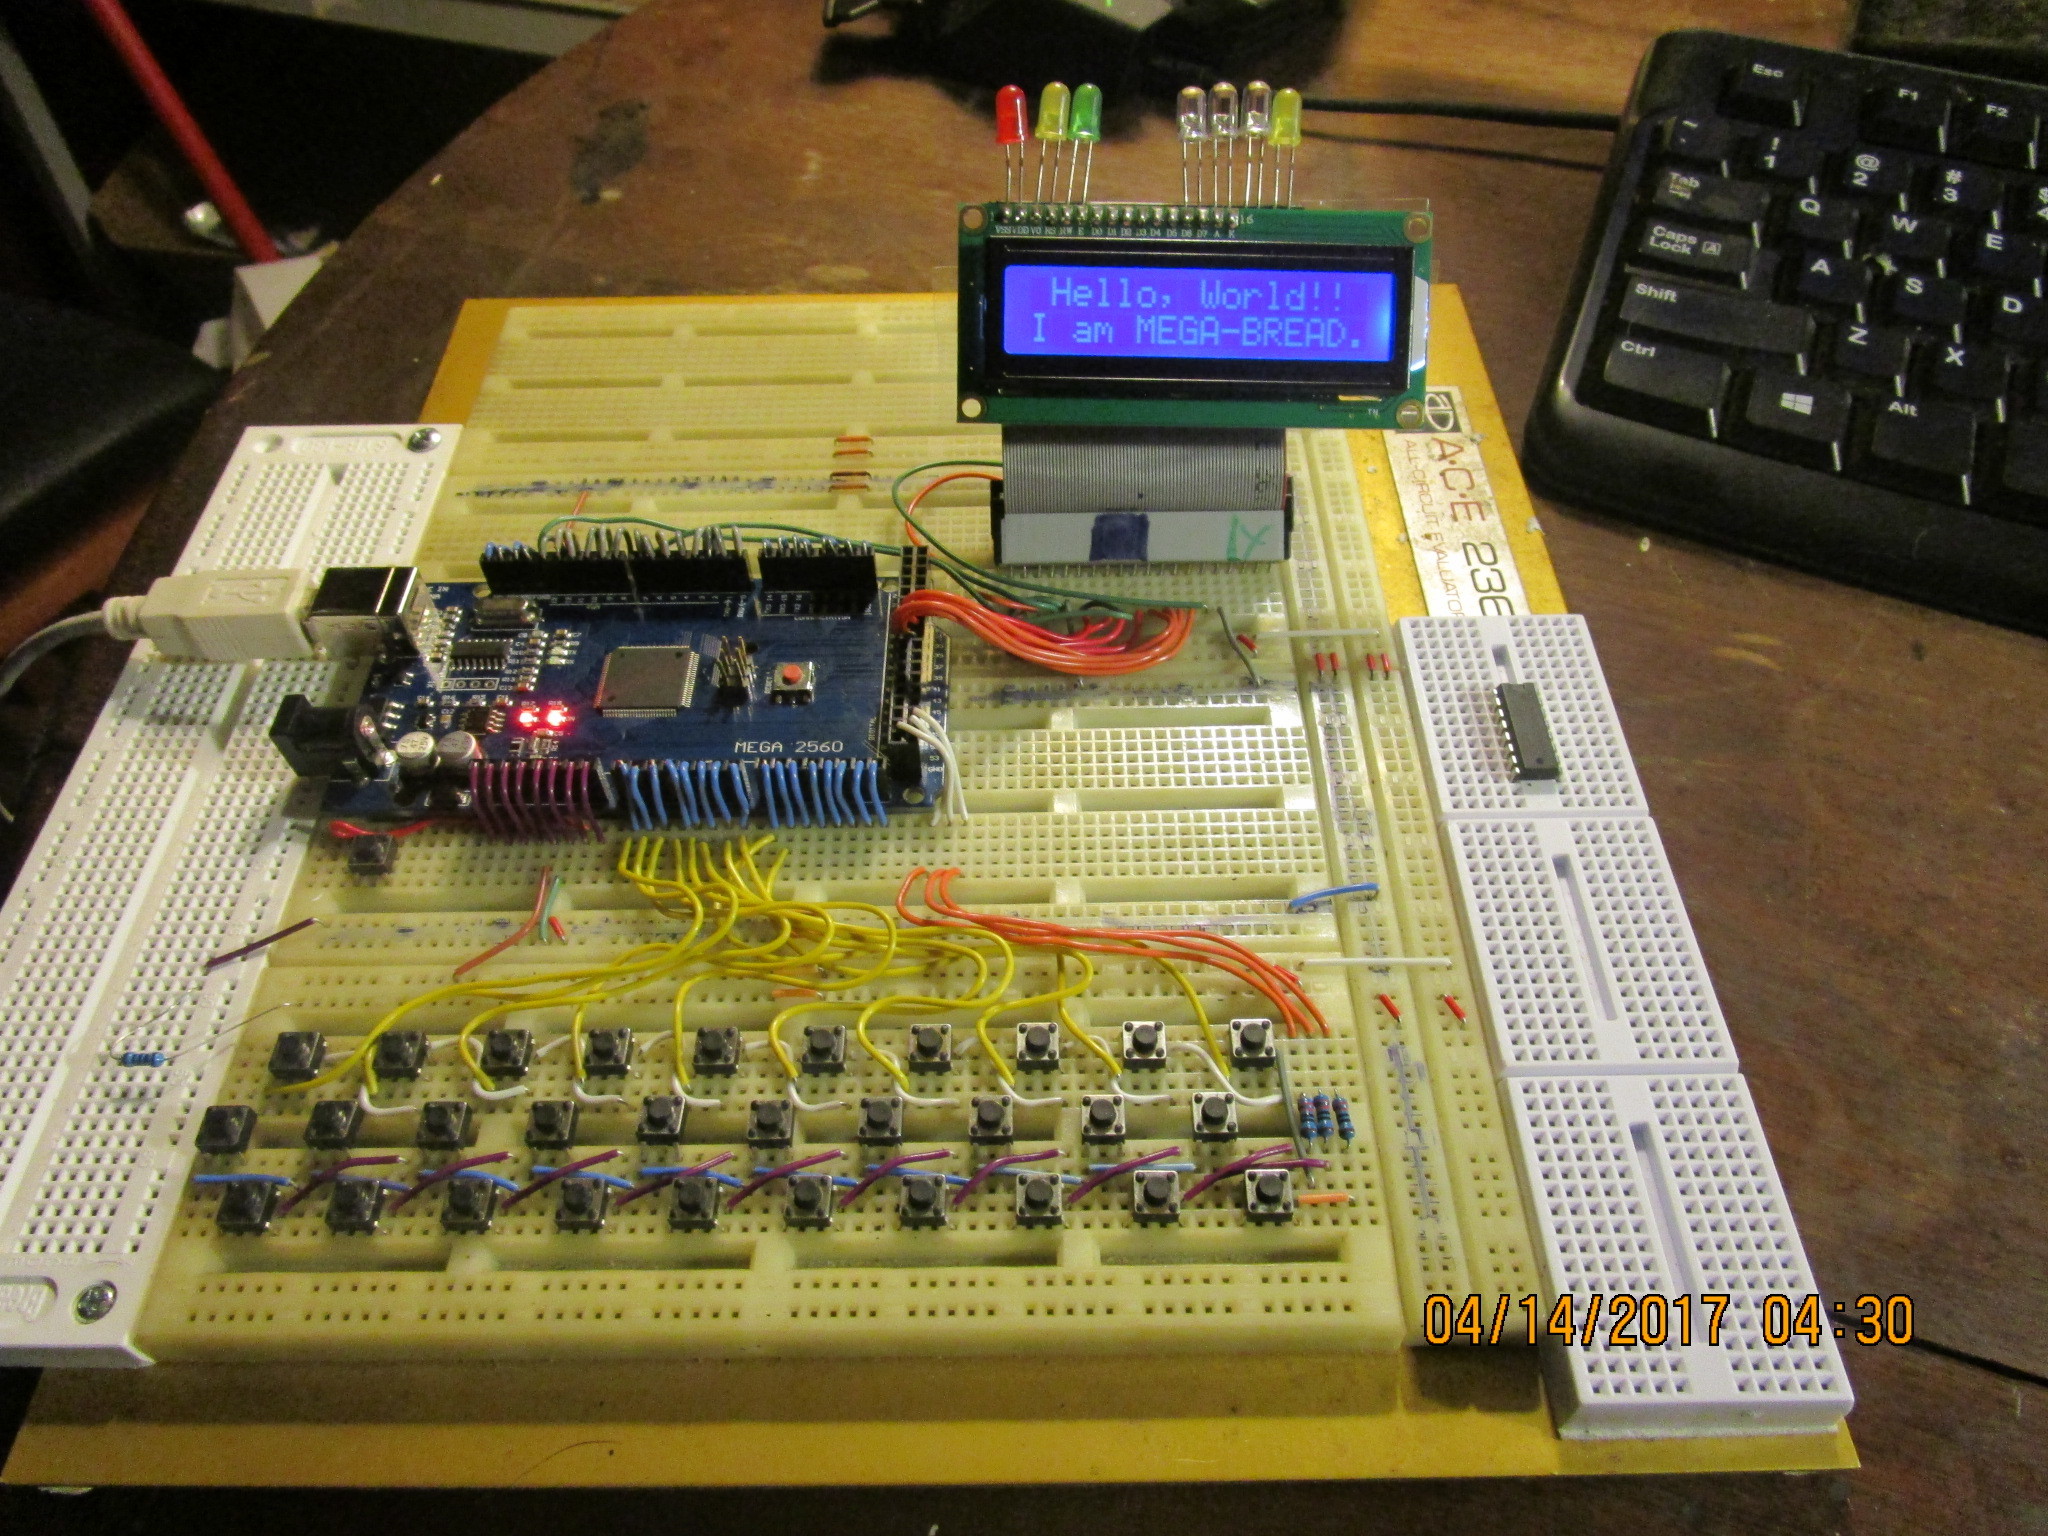
lcd.print(" Hello, World!!“); //Output " Hello, World!!” on the first line of the LCD
lcd.setCursor(0, 1);
delay(delaytimeA); //Wait
lcd.print(“I am MEGA-BREAD.”);
delay(delaytimeA); //Wait
lcd.clear();
}